There are two ways to connect webhook:
Connect webhook URL to your account. Each time a workflow with a Webhook automation runs in Hexomatic the JSON formatted data of the workflow will be sent to your provided webhook URL.
To use this type of webhook connection:
Go into Hexomatic Settings
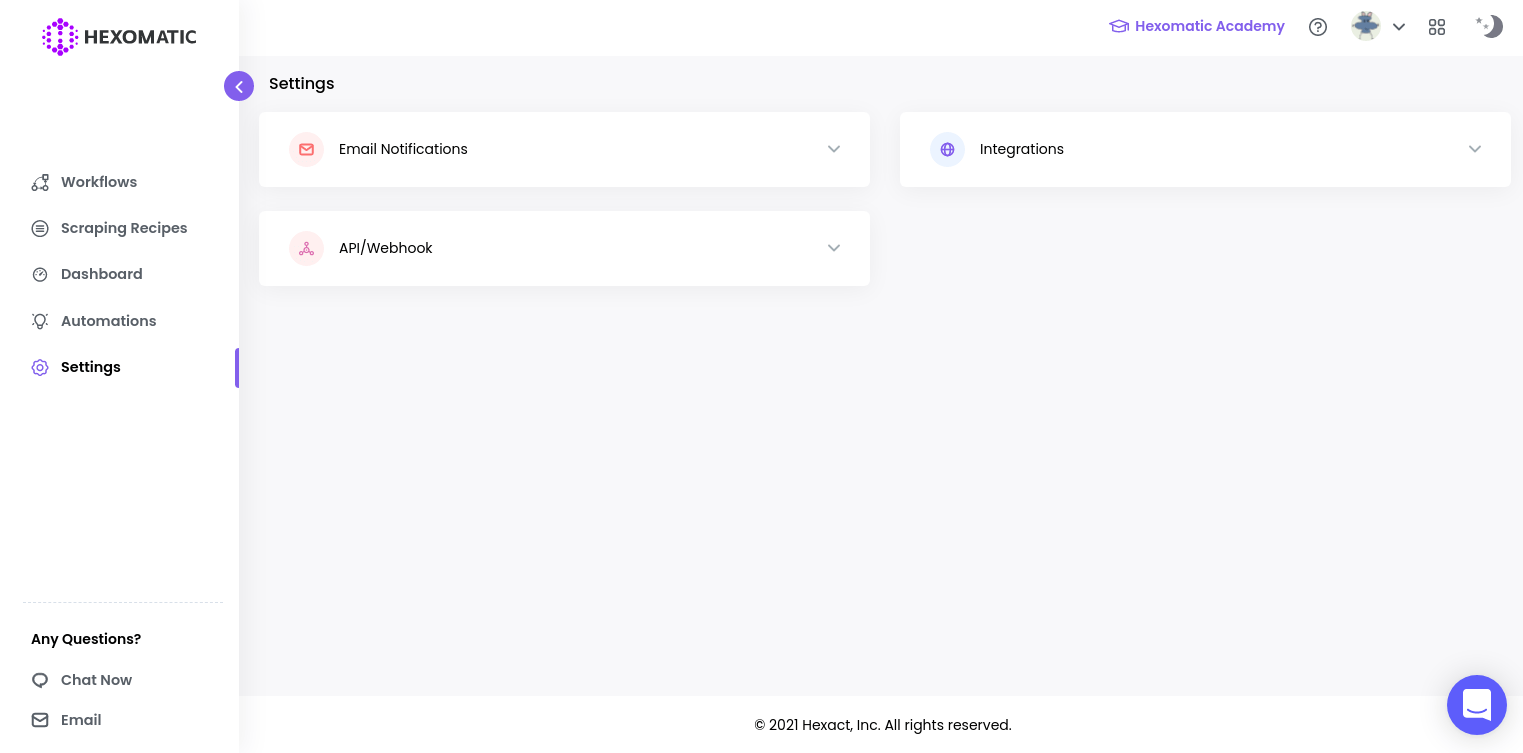
Select API/Webhook
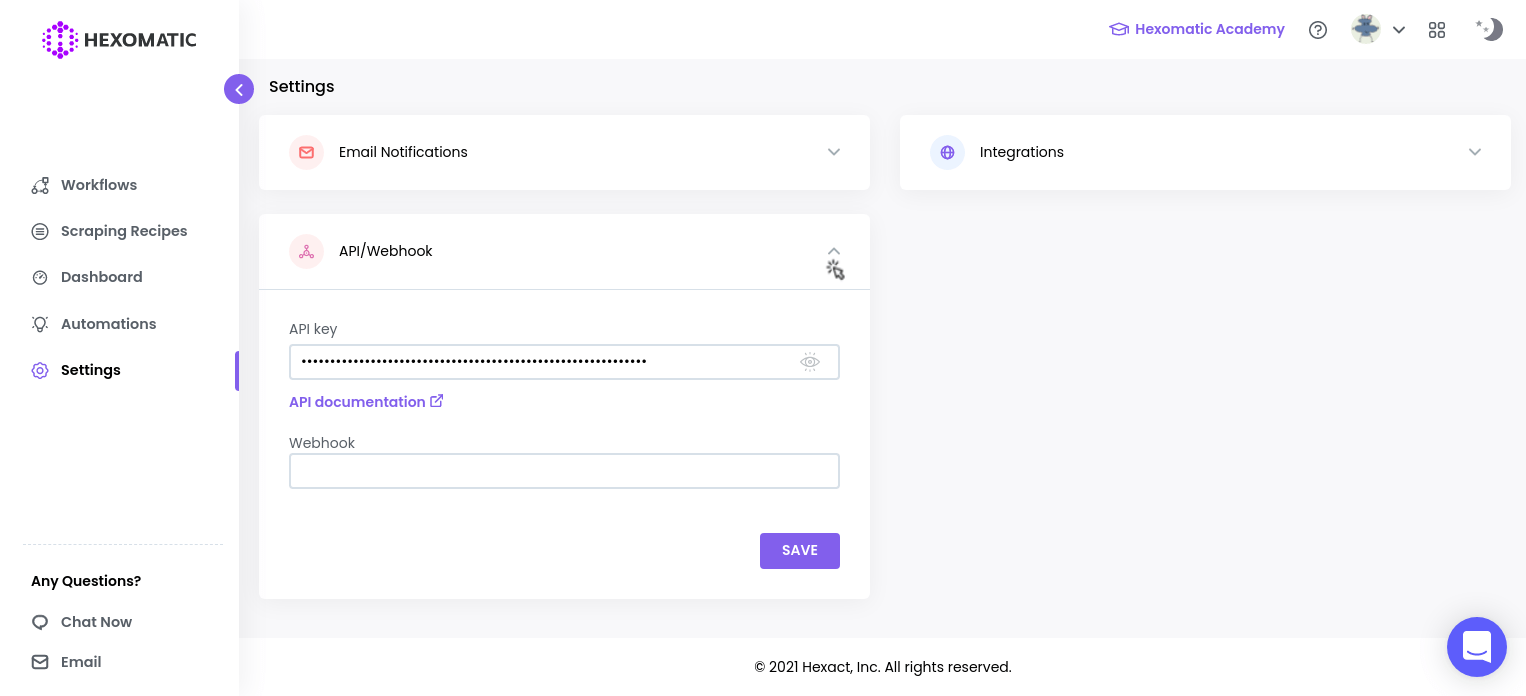
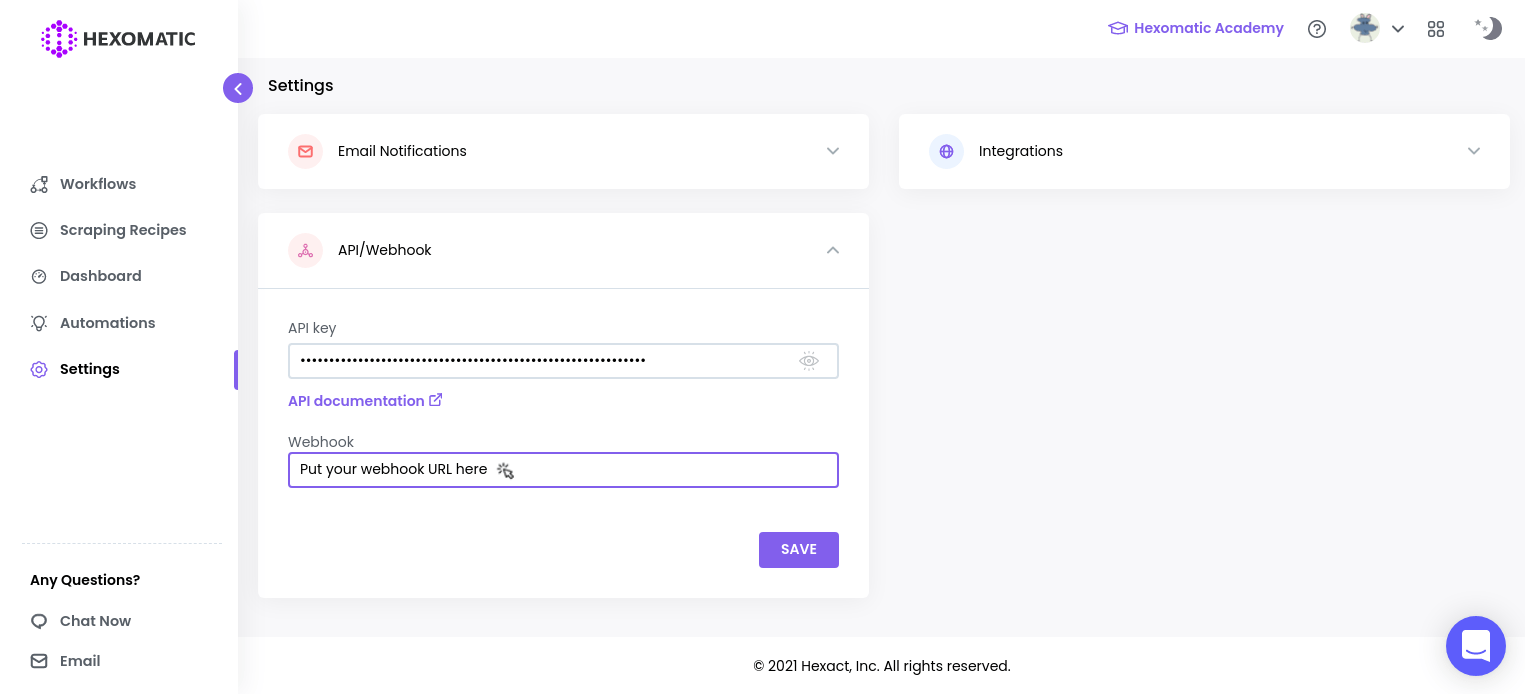
Put your webhook URL inside webhook field
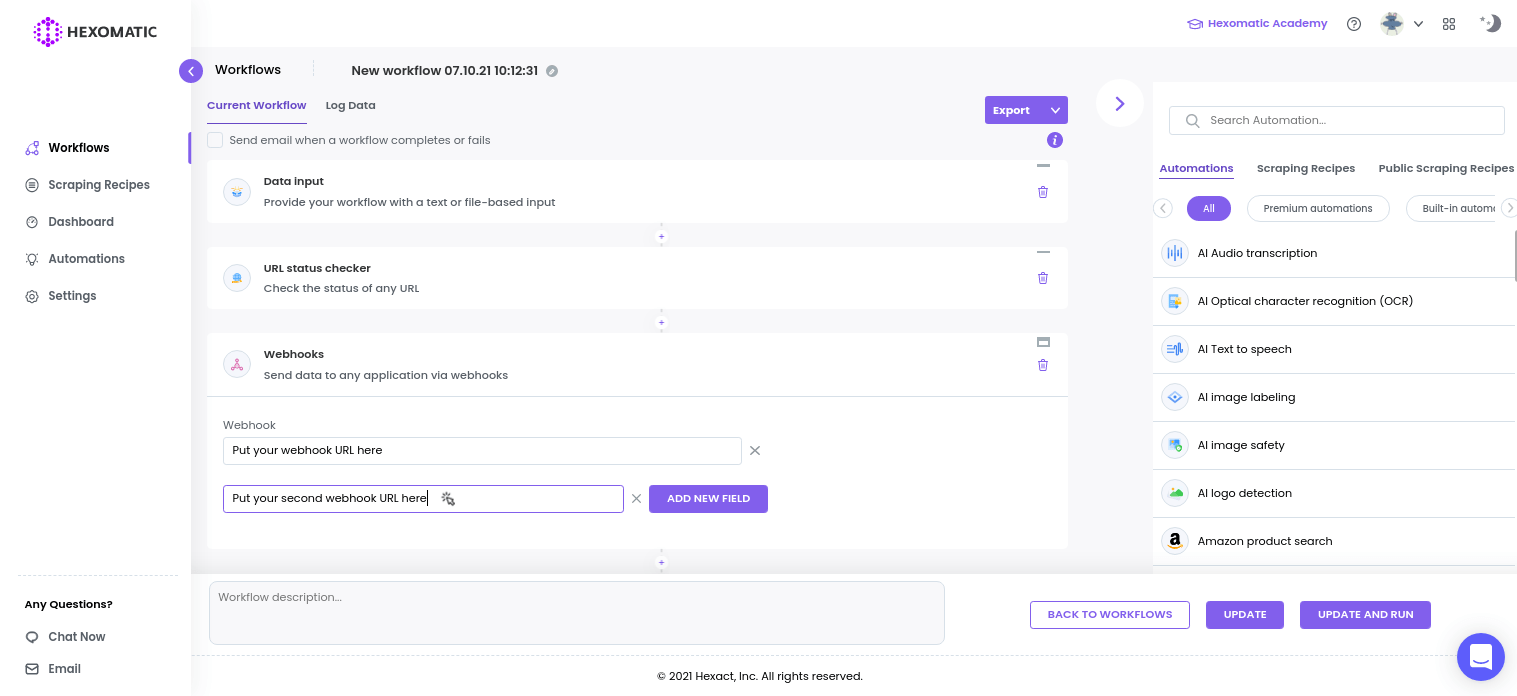
Add webhook connection per workflow. Using Webhook automation connect several webhook URLs in one workflow, and each time the workflow is run at the specified point the JSON formatted data of the workflow will be sent to your provided webhook URLs.
To use this type of webhook connection:
Choose workflow
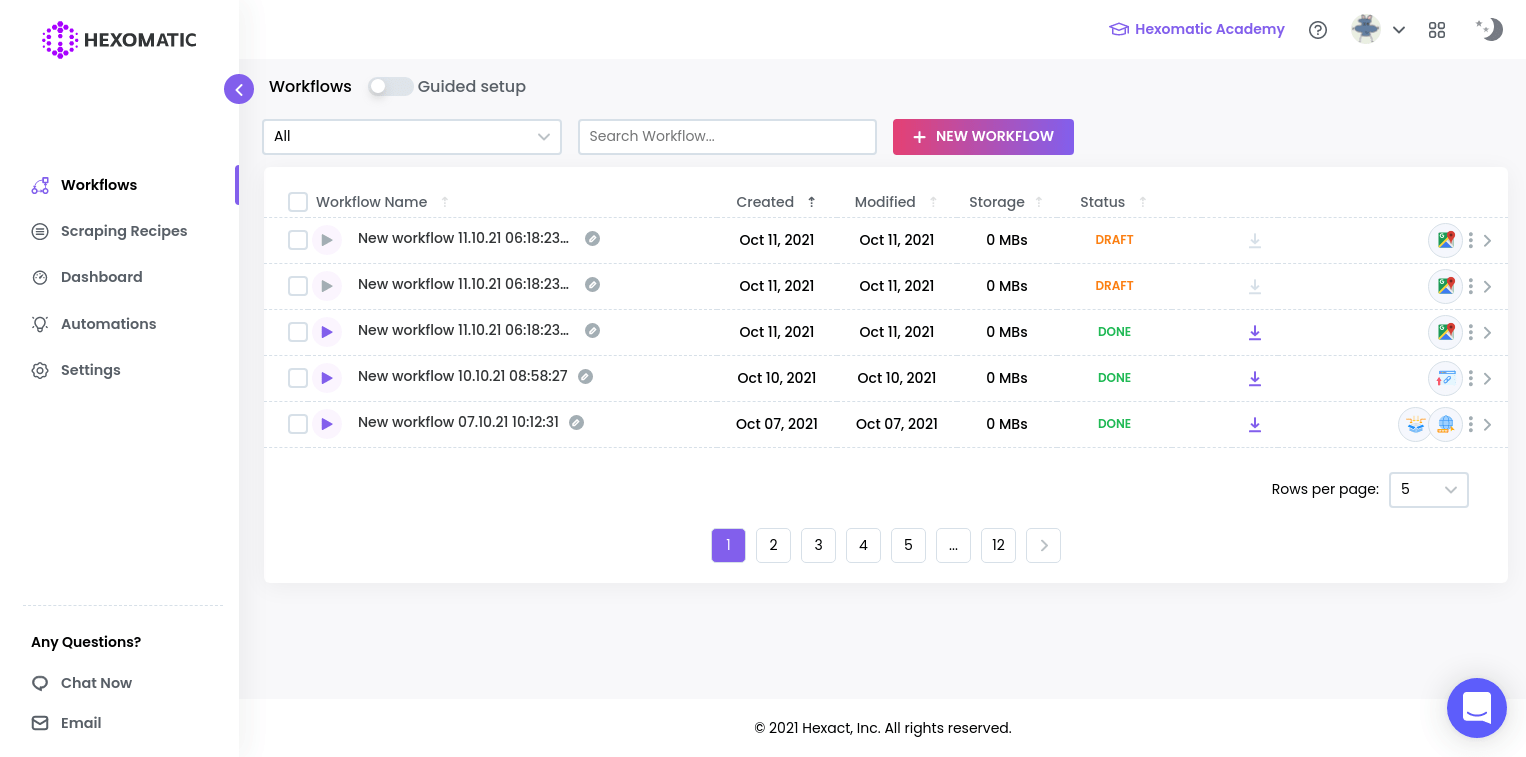
Click on add new automation icon
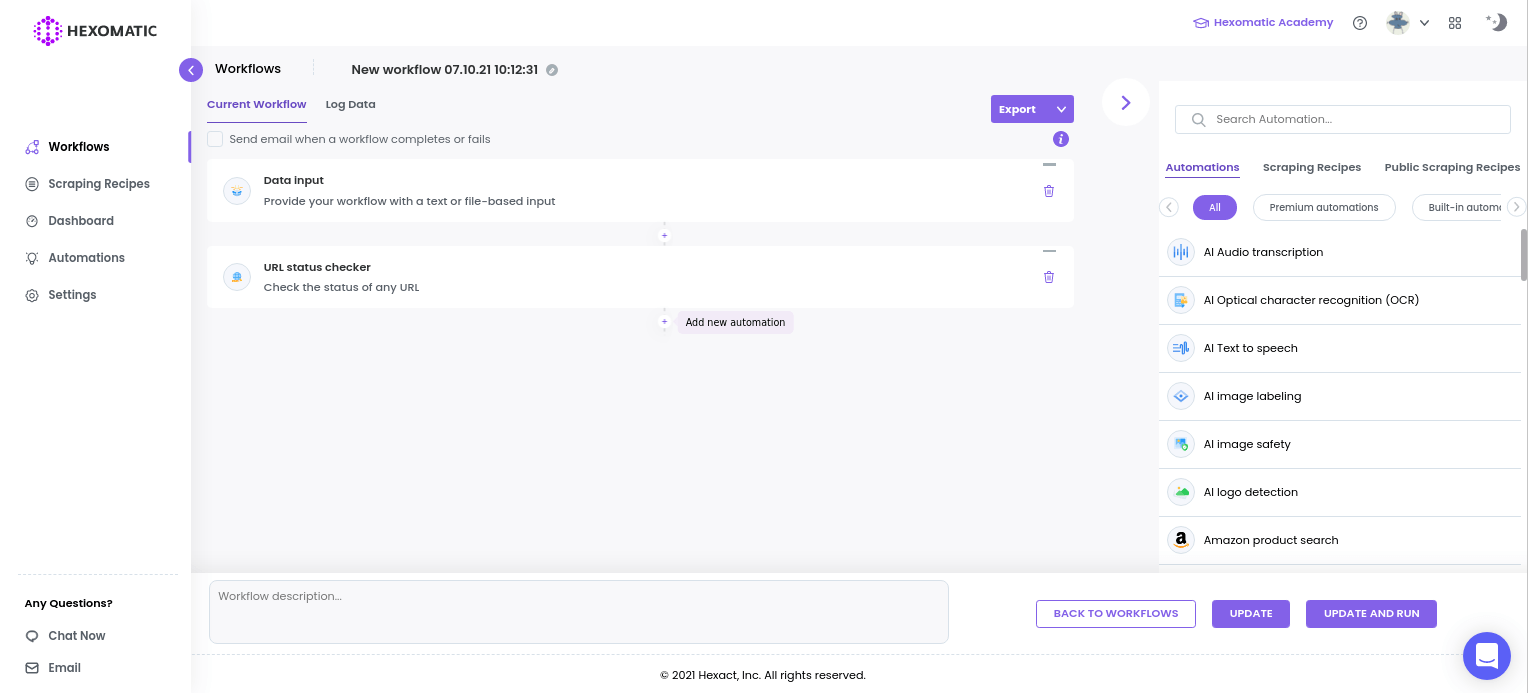
Search for Webhook automation and select it
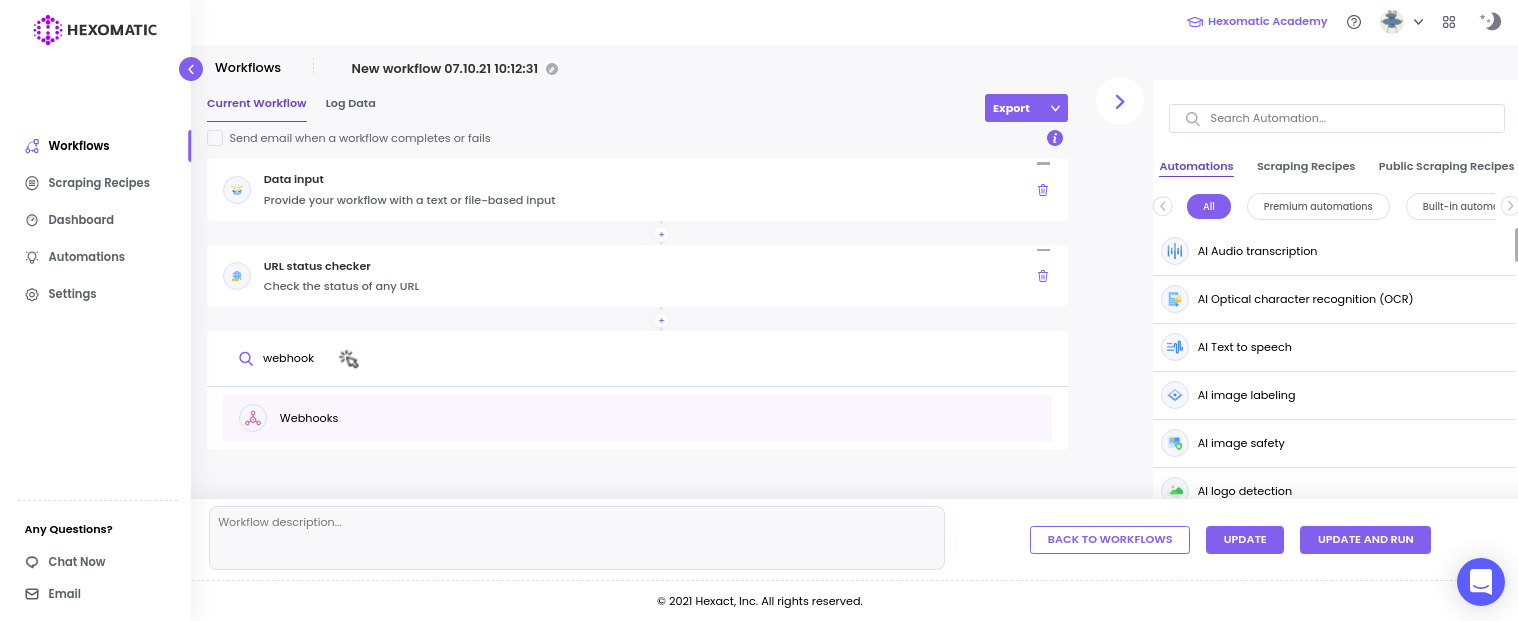
Put your webhook URL in webhook input
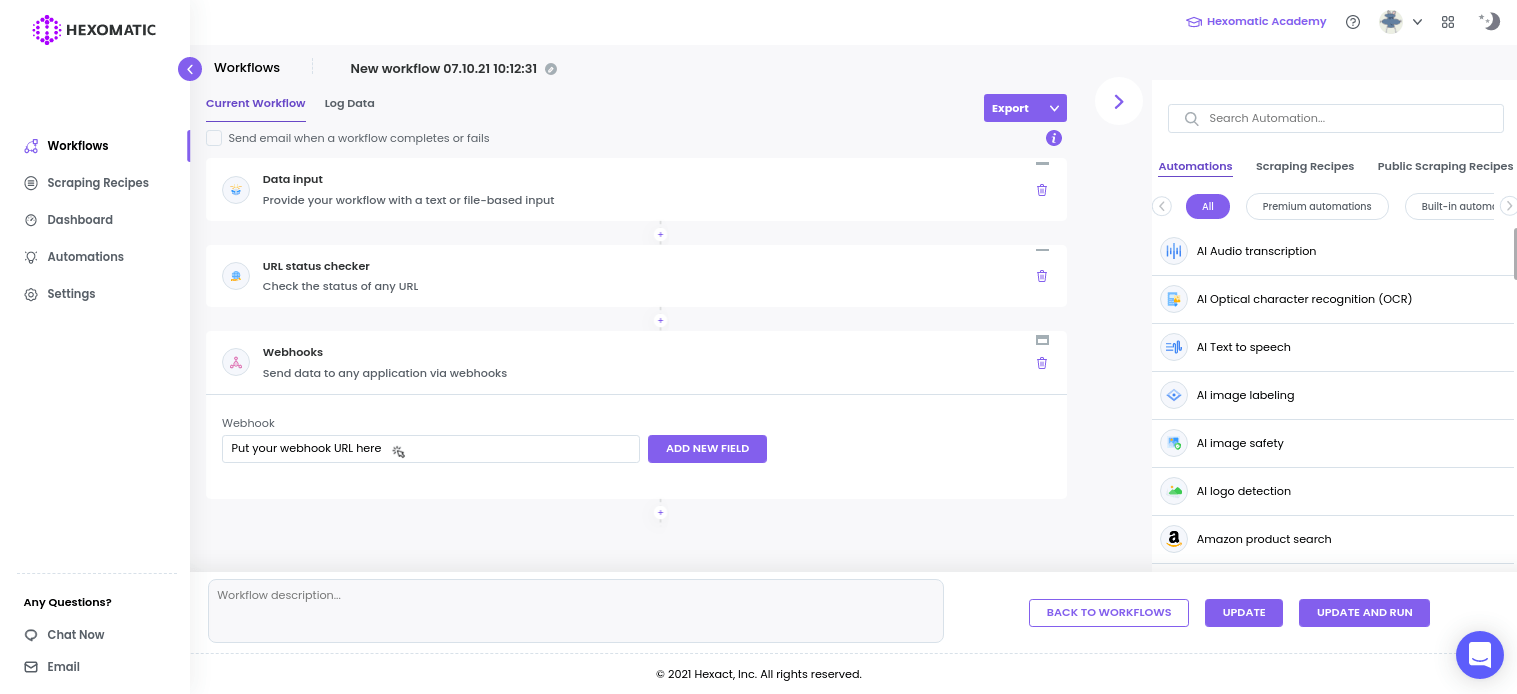
To add more webhook URLs click on "ADD NEW FILED" button
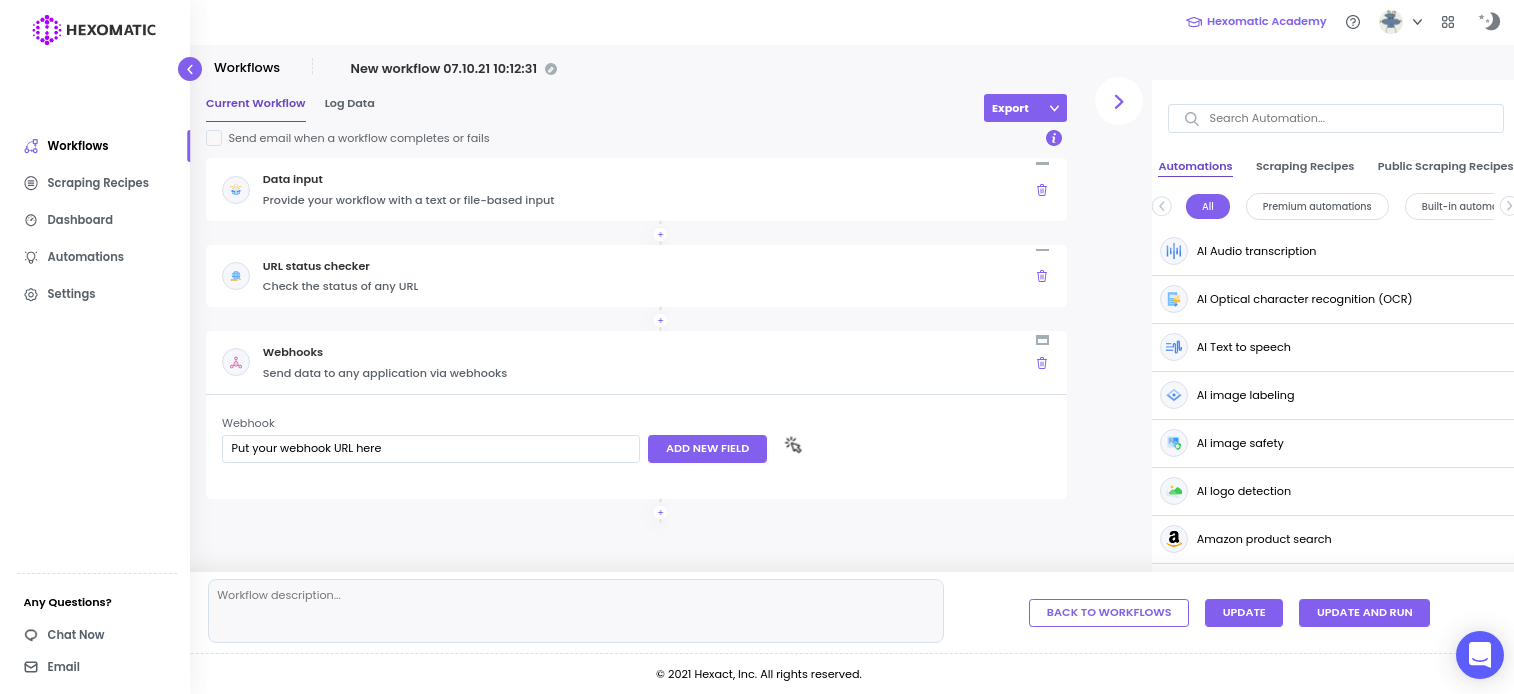
Put your second webhook URL in the second input
JSON formatted Data of the workflow is the following
[
{
"[output_key_1]": "[output_values]",
"[output_key_2]": "[output_values]",
"[output_key_3]": "[output_values]",
},
{
"[output_key_1]": "[output_values]",
"[output_key_2]": "[output_values]"
},
{
"[output_key_1]": "[output_values]",
"[output_key_2]": "[output_values]",
"[output_key_3]": "[output_values]",
"[output_key_4]": "[output_values]",
"[output_key_5]": "[output_values]"
}
]