Crunchbase is one of the most popular platforms for finding business information about private and public companies. Based on live company data, it offers intelligent prospecting information.
Crunchbase is known as “Linkedin for company profiles” where you can find information about company founders, leaders, investment and funding information, and more.
Over 50 million people visit this website each year to crawl company listings, extract people, acquisition data, hubs with interactions, numeric reports, and all other company details.
Scraping Crunchbase can help you network, find funding and find connections and also look for funding by searching for investment opportunities and other events.
On the other side, it can be helpful for investors to find the right companies to invest in.
In this tutorial, we will cover how to scrape company data from Crunchbase, including description, number of employees, investment information, and more.
Not a Hexomatic user yet? Click here to register for a free account.
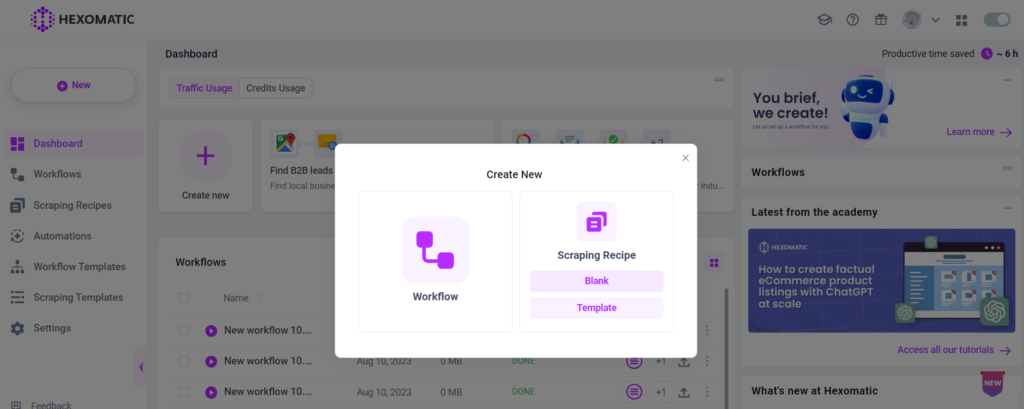
Step 1: Create a scraping recipe
To get started, create a new scraping recipe.
Step 2: Add Crunchbase web page URL
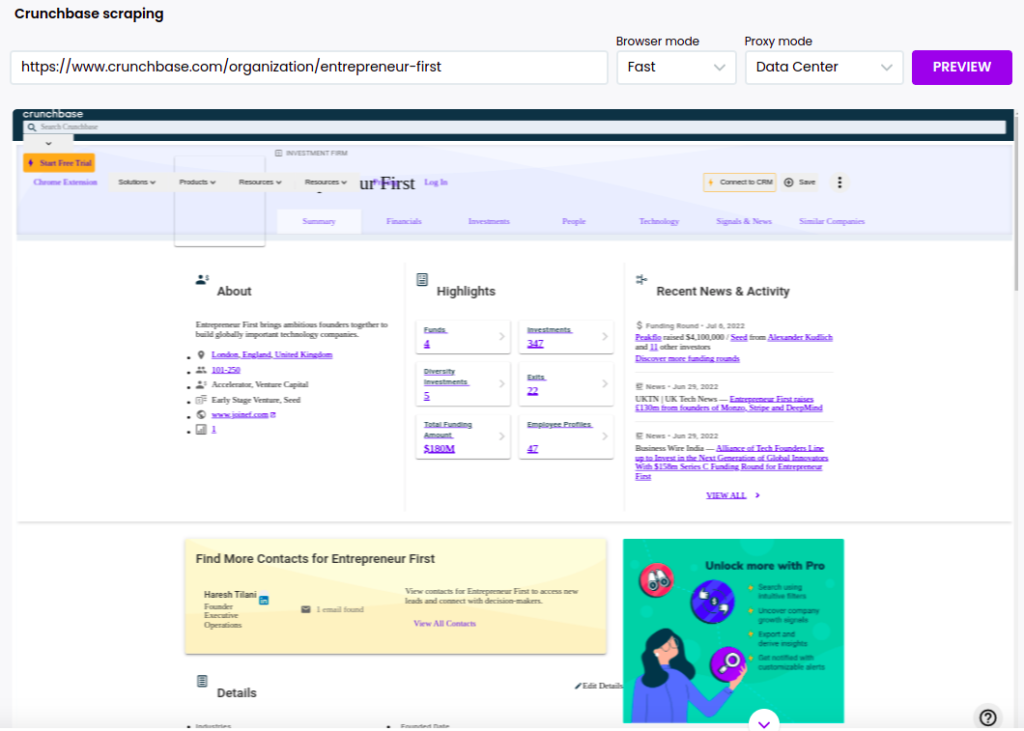
Step 2: Add Crunchbase web page URL
Go to crunchbase.com and find a company profile. Then, add it to the Hexomatic scraping recipe builder, clicking Preview.
Step 3: Select elements to scrape
Select desired elements to scrape. From a Crunchbase company page, you can scrape the company description, location, number of employees, information about investments, etc.
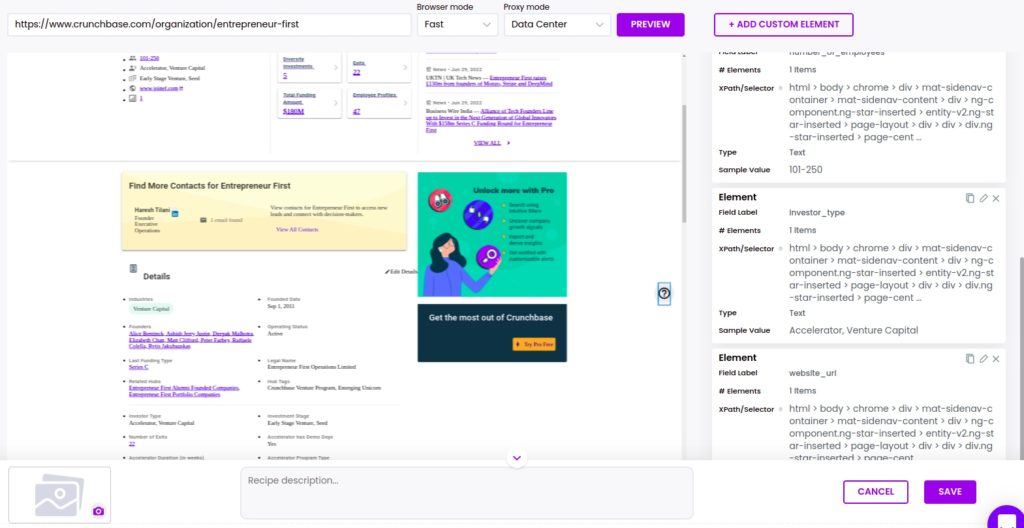
After scraping all the necessary elements, save the recipe.
Step 4: Create a new workflow to run your scraping recipe
Create a new blank workflow and choose data input as your starting point.
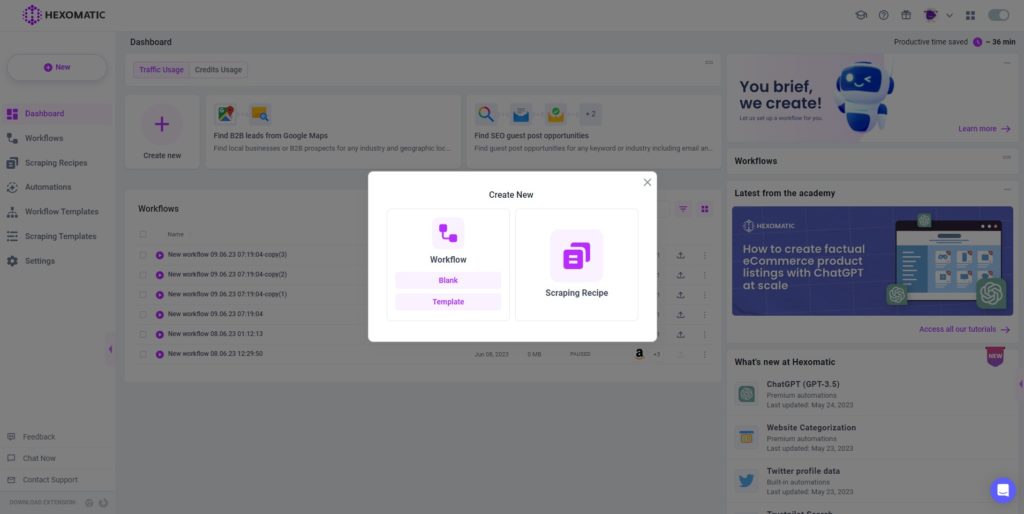
Step 5: Add other Crunchbase company profile URLs
You can add other company profile URLs to scrape the same data automatically.
Before adding the URLs, be sure that they have the same HTML structure as the previous profile URL.
Here we will use the data input automation using a list of inputs in the form of URLs (one line per URL).
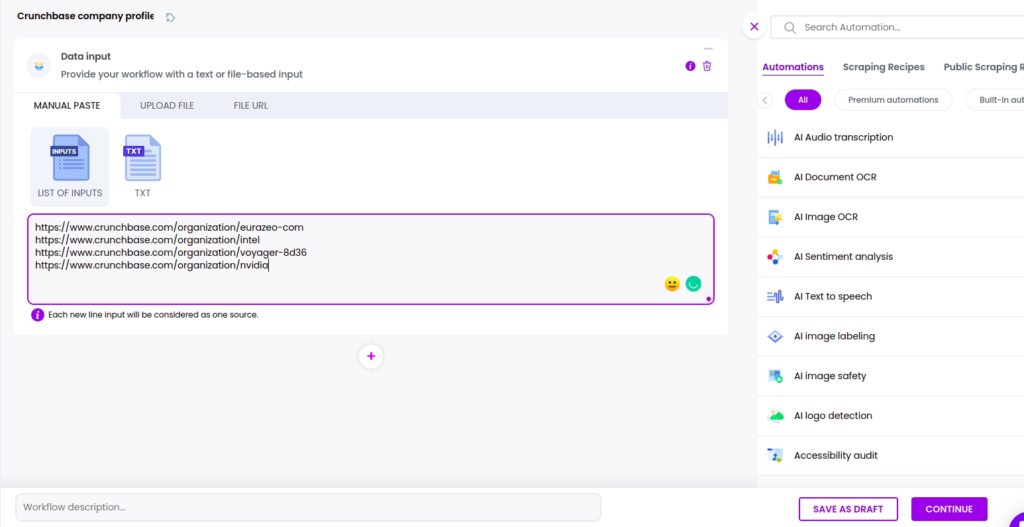
Step 6: Add your scraping recipe
Next, you need to add your previously created scraping recipe, selecting data input as the source.
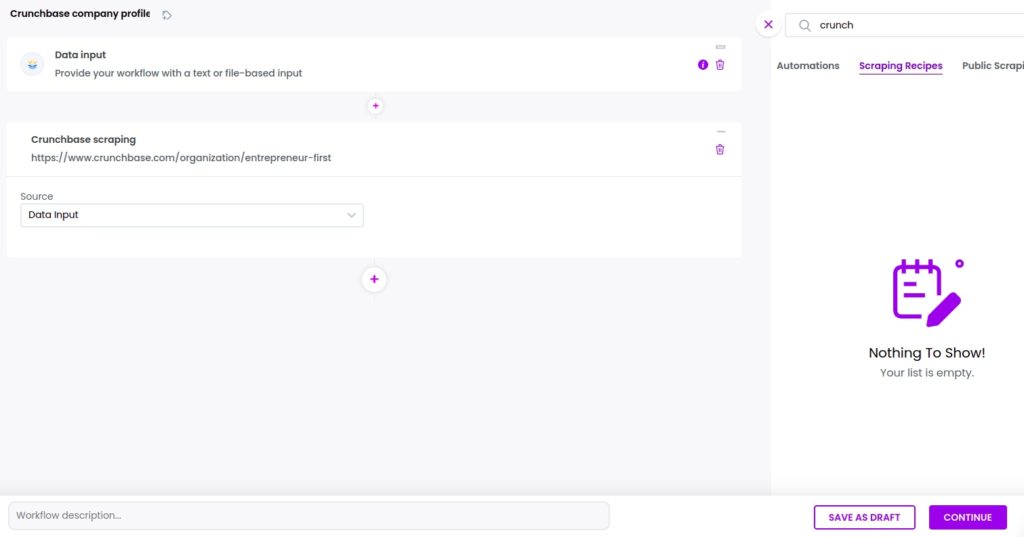
Step 7: Run your workflow
Now, you can run the workflow or schedule it.
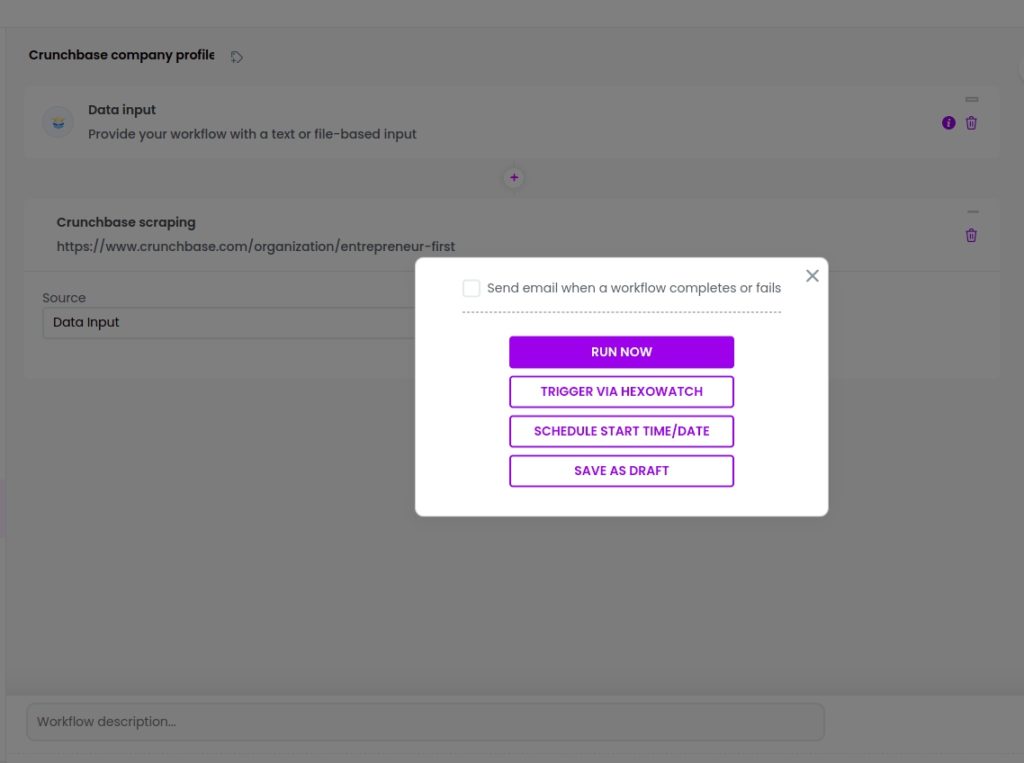
Step 8: View and save the results
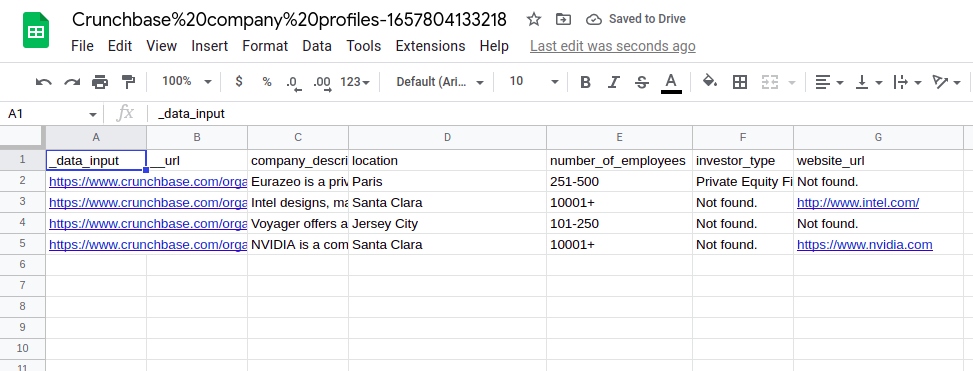
Once the workflow has finished running, you can view the results and export them to CSV or Google Sheets.
Automate & scale time-consuming tasks like never before

Marketing Specialist | Content Writer
Experienced in SaaS content writing, helps customers to automate time-consuming tasks and solve complex scraping cases with step-by-step tutorials and in depth-articles.
Follow me on Linkedin for more SaaS content
