Compressing images in Photoshop can be a tedious and time-consuming task, especially when dealing with large batches.
However, there’s a much easier way! In this tutorial, we’ll show you how to compress images in bulk using Hexomatic, helping you save your precious time and energy for creative tasks.
The easiest way to compress images in bulk is the use of Hexomatic’s ready-made workflow template. However, you can also create a workflow from scratch adding all the automations you need. In this tutorial, we will discuss both options!
Option 1: Use a ready-made workflow template to compress images in bulk
From Hexomatic’s dashboard, navigate to the Workflow Templates section and select the appropriate template. Alternatively, you can click this link: Compress images at scale.
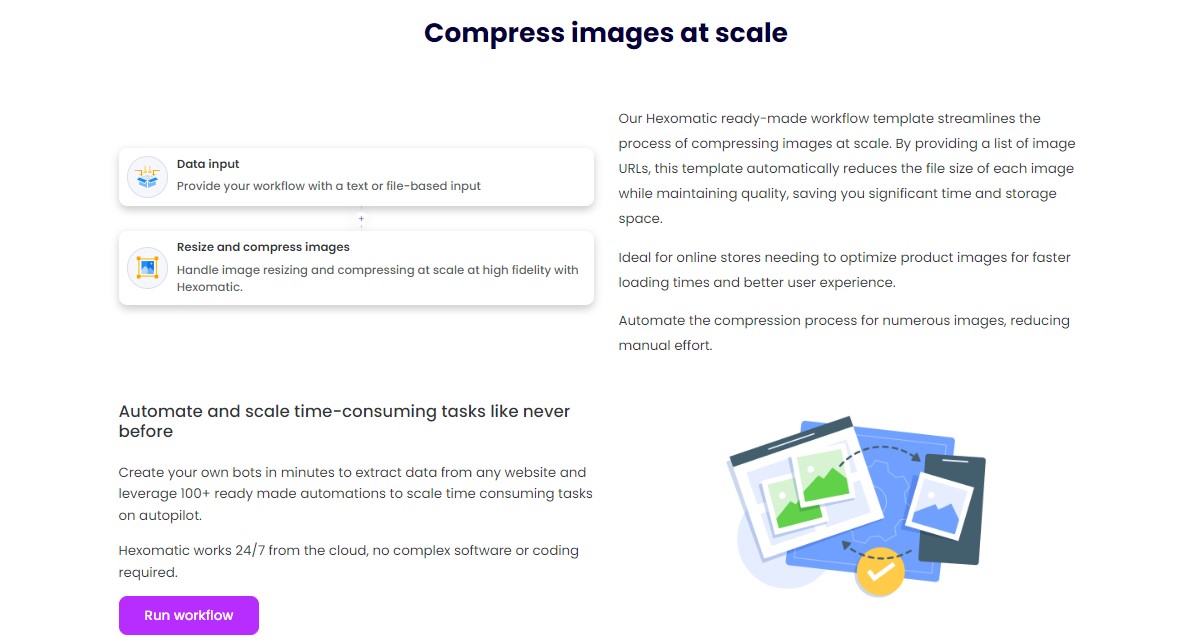
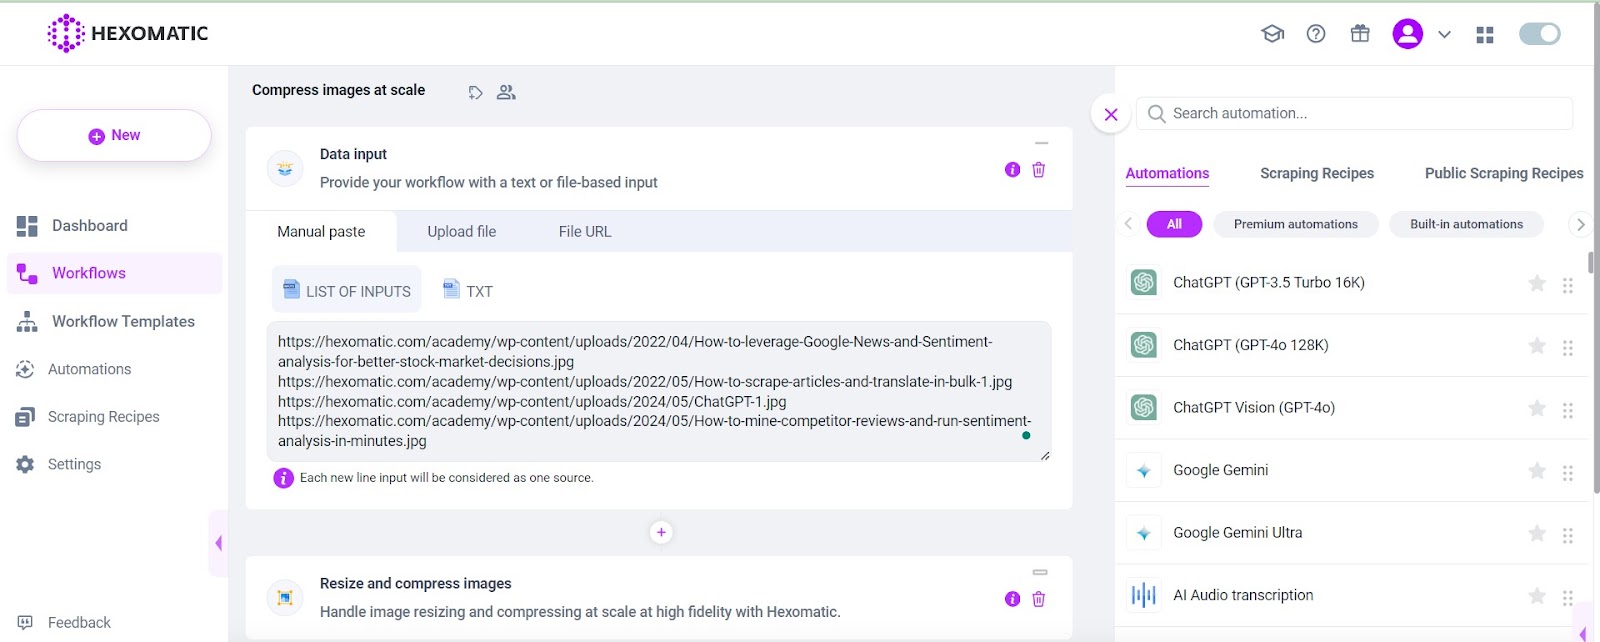
Next, click the “Run workflow” button to input your image URLs.
You have the option to either copy and paste the list of image URLs or upload the files directly.
Next, choose whether you want to compress or resize the images, and select the desired image format. Then, click Continue.
Once you’re ready you can run the workflow or schedule it for your convenience:

In just a few minutes, you’ll have all your images compressed and ready for use. Simply download it in your preferred format and enjoy!
Option 2: Create your workflow from scratch
Creating your workflow from scratch is also a simple process and doesn’t require a lot of time from you. Here is how you can do it:
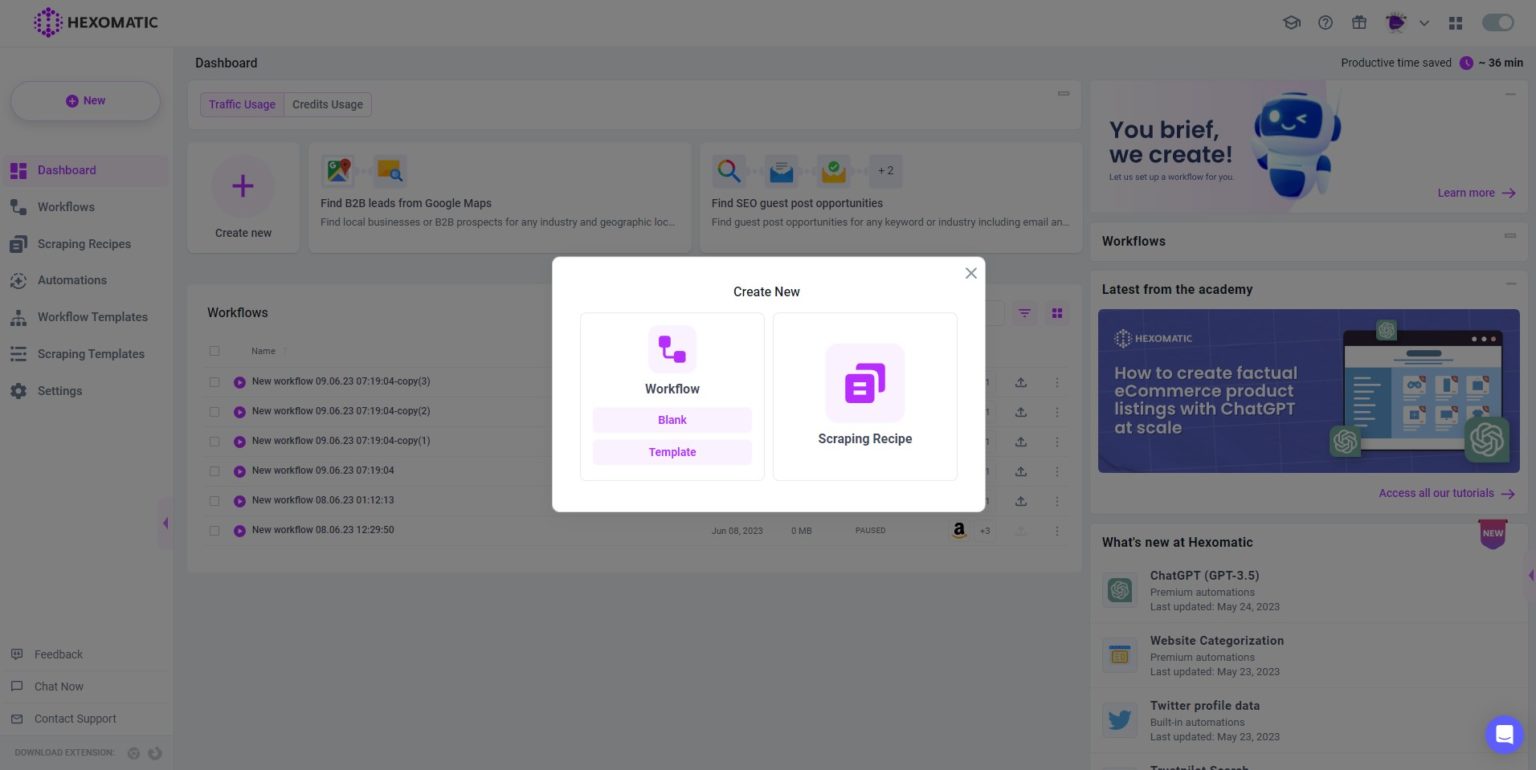
Step 1: Create a new blank workflow
From your dashboard, create a new workflow by choosing the “blank” option. Then, select Data automation as a starting point.
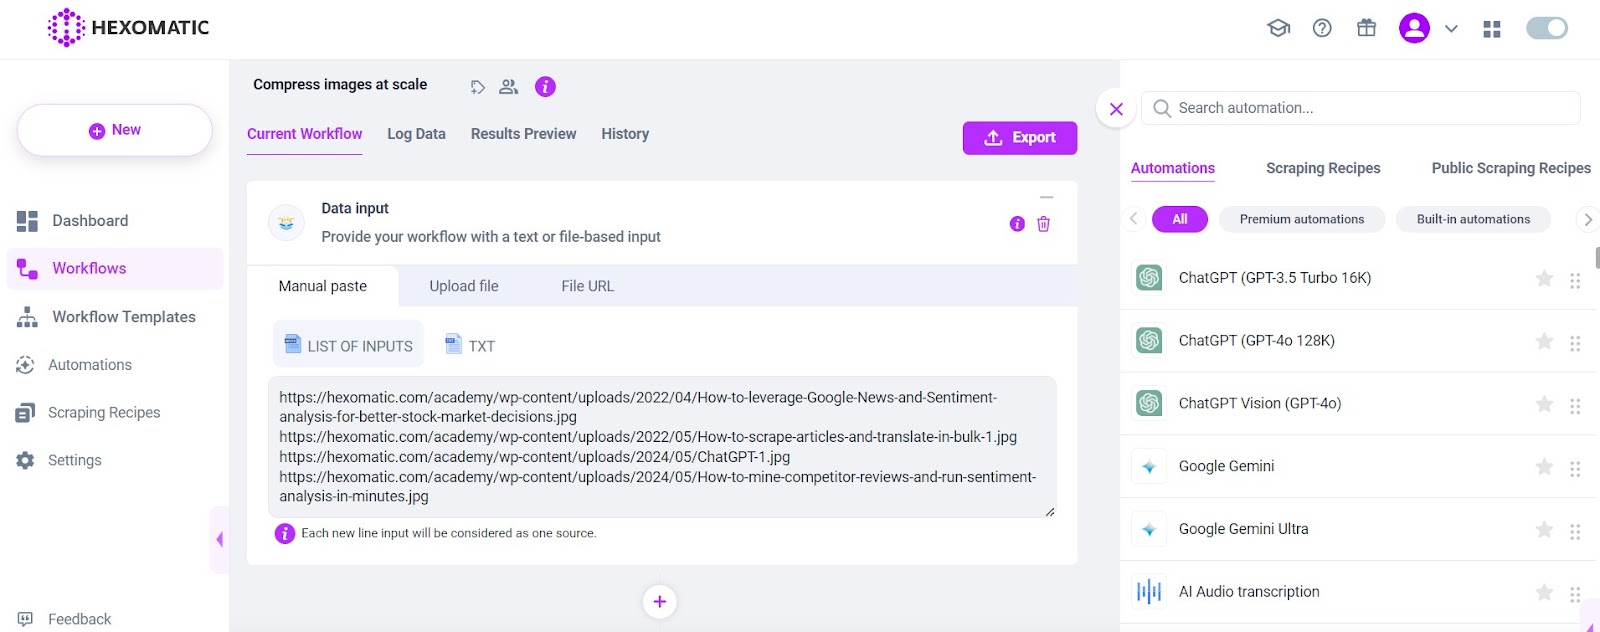
Step 2: Add image URLs
Add the image URLs you want to compress or upload them by choosing the “upload file” option.
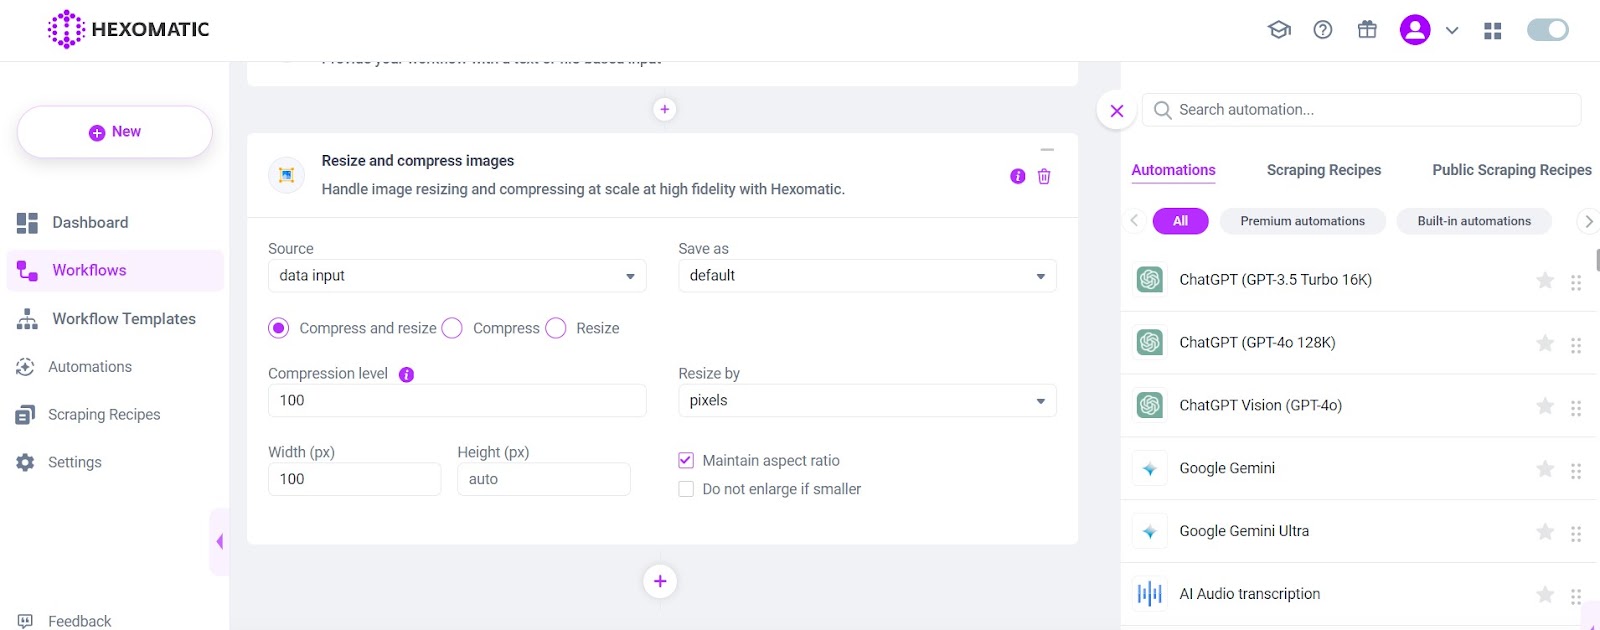
Step 3: Add the Resize and Compress Images automation
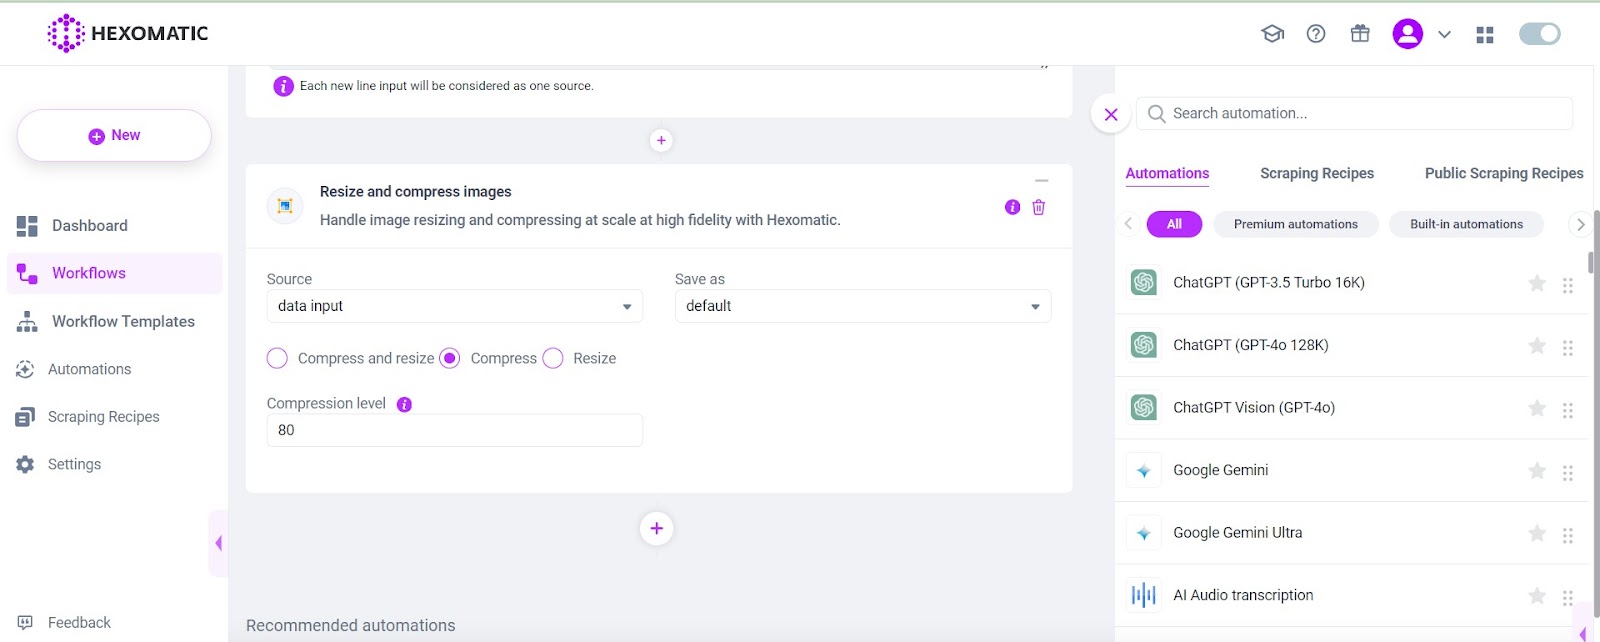
Click on the plus “+” icon below the Data input automation and search for “Resize and Compress Images” automation. Choose the data input as the source and select one of the following options:
- – Compress and resize
- – Compress
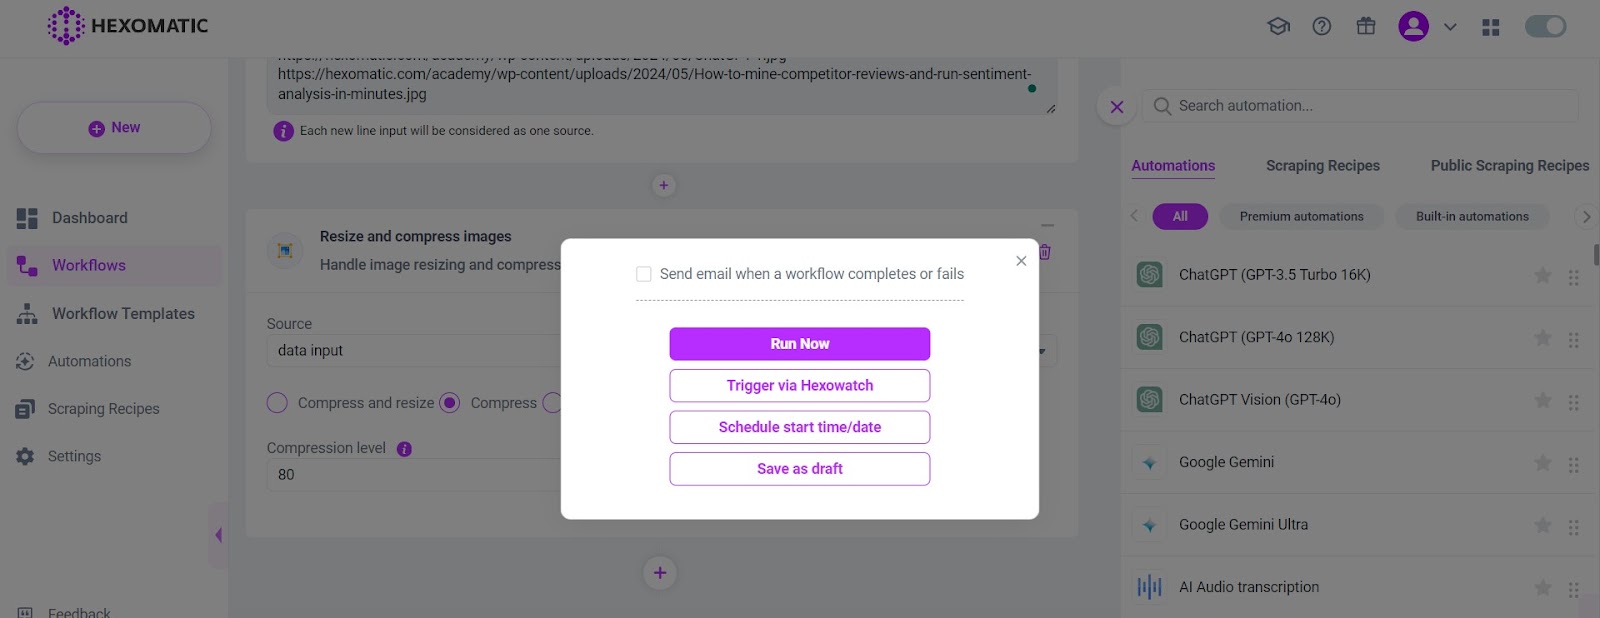
Then, specify the compression level, image width, and height and click on Continue.
Step 4: Run the workflow
Run the workflow or schedule it for your convenience:
Step 5: Save the results
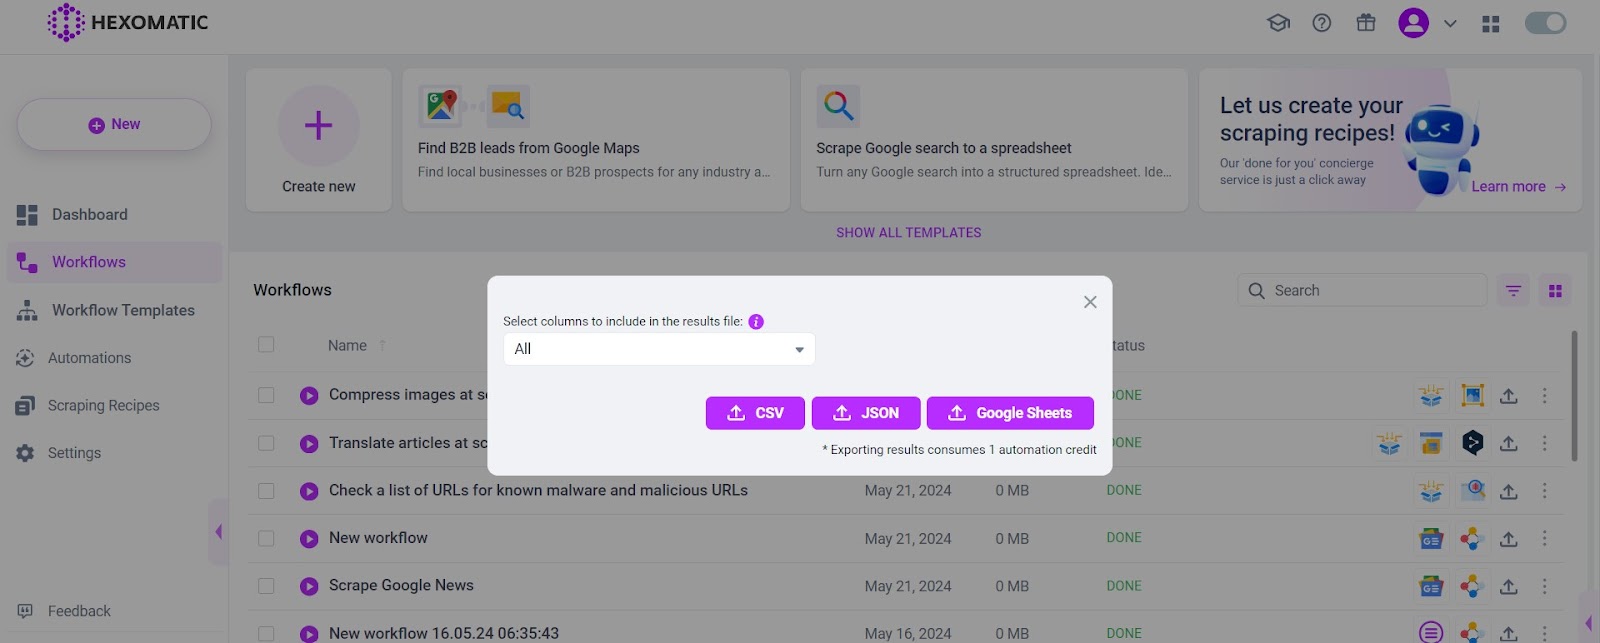
After getting the results, you can save them into a Google Sheet or download them as a CSV file:

That’s it. Now you know how to compress images in bulk without Photoshop or any other complex processes. Give it a try and let us know how it works for you!
Best use cases for Hexomatic’s bulk image compression workflow
| User Group | Reason for Use |
| Photographers | To quickly compress large batches of images, saving time and effort for creative tasks. |
| Web Designers | To optimize website images for faster loading times and improved performance. |
| E-commerce Managers | To efficiently manage and compress product images for online stores, enhancing user experience. |
| Content Creators | To streamline the process of preparing images for blogs, social media, and other digital content. |
| Graphic Designers | To easily compress and resize images for various design projects without tedious manual processing. |
| Marketing Teams | To ensure that images in marketing materials are optimized for web and email campaigns. |
| Educational Institutions | To manage and compress images for educational resources, presentations, and online courses. |
| Real Estate Agents | To quickly compress property images for listings, ensuring faster uploads and better image management. |
| Developers | To automate image compression tasks within their development workflows, enhancing efficiency. |
| Non-Profit Organizations | To optimize images for their websites and promotional materials, ensuring accessibility and efficiency. |

Content Writer | Marketing Specialist
Experienced in writing SaaS and marketing content, helps customers to easily perform web scrapings, automate time-consuming tasks and be informed about latest tech trends with step-by-step tutorials and insider articles.
Follow me on Linkedin