
Need product listing images for your eCommerce store or images from a specific website?
You could manually right-click on each image or you could use a web scraper to perform the task automatically at scale.
This is useful for many industries, including eCommerce, research, real estate, hospitality, tourism, and more.
With Hexomatic you can scrape all the images (or any type of asset from pdf to mp3 files) from the entire website in just a few clicks – No python code or complex software required.
In this tutorial, we will show you two different ways to scrape images in bulk:
Method 1: Using our website crawler + files and document finder automation.
Method 2: Creating your own scraping recipe.
Method 3: Using our Text and Image Scraper automation.
Method 1: How to scrape and save images from an entire website using the files and document finder
In this section, we will show you how to scrape images from a website so you can save them all to your computer.
Step 1: Create a new workflow
To get started, head over to the dashboard and create a new workflow from the Automations section.
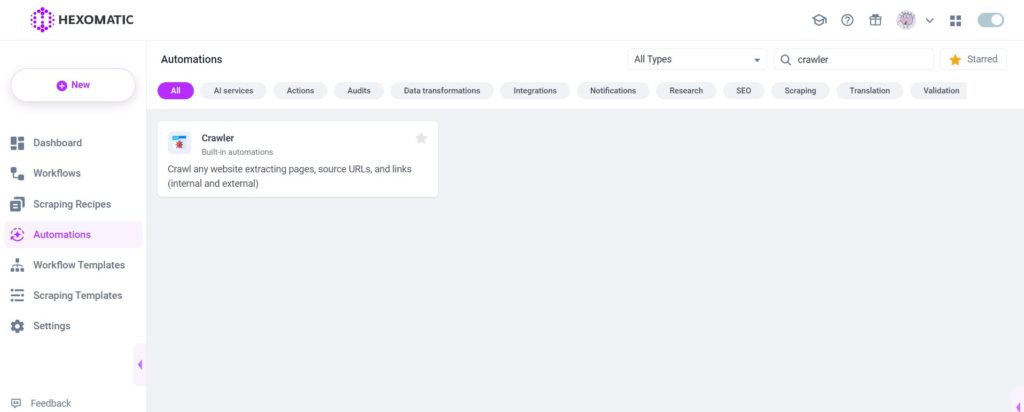
Step 2: Add the Crawler automation
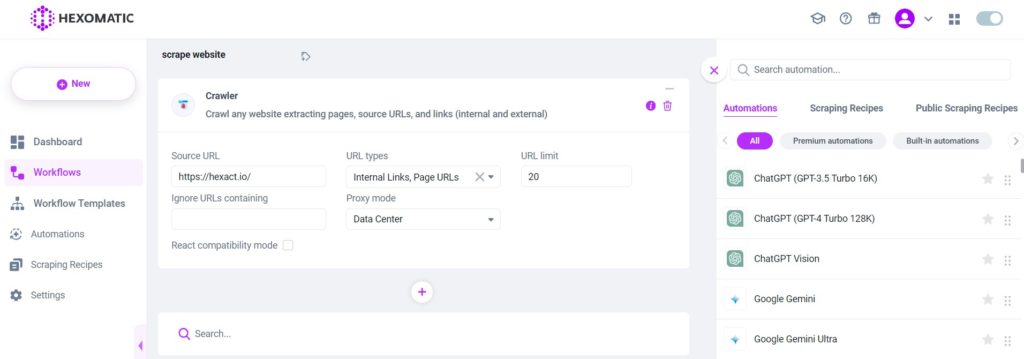
Next, add the crawler automation, inserting the URL you want to crawl in the Source URL field.
Select the URL types to crawl, the limit of URLs to crawl, and your proxy mode.
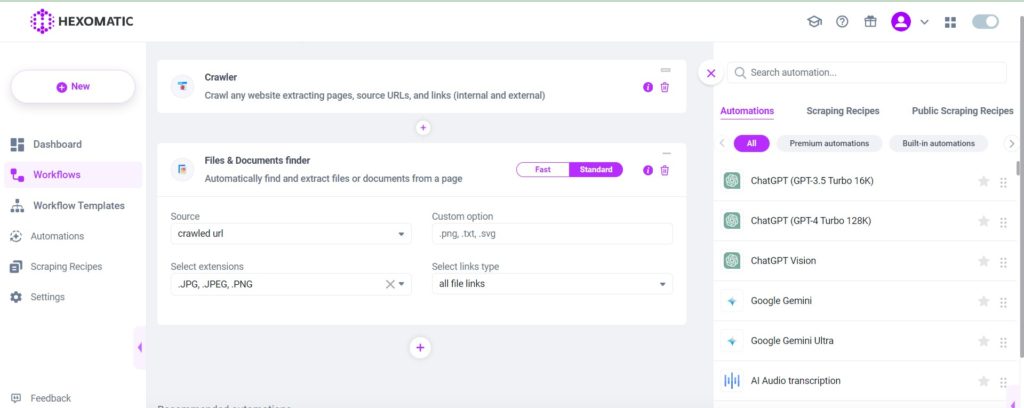
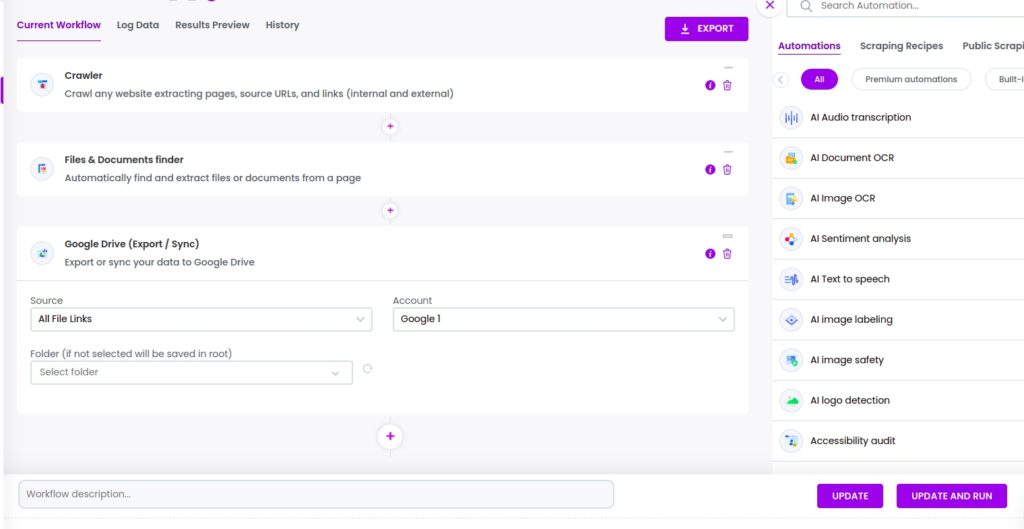
Step 3: Add the File and document finder automation
Next, add the file and document finder automation, selecting crawled URL as the source.
Select the desired extension. In this case, we select .PNG, .JPG, and .JPEG formats to scrape images from the URLs. Select the URL type (Internal/External/All).
Next, there are two possible ways you can proceed: You can save the images to a zip file or export them to your Google Drive. Below, we will demonstrate how to do each method.
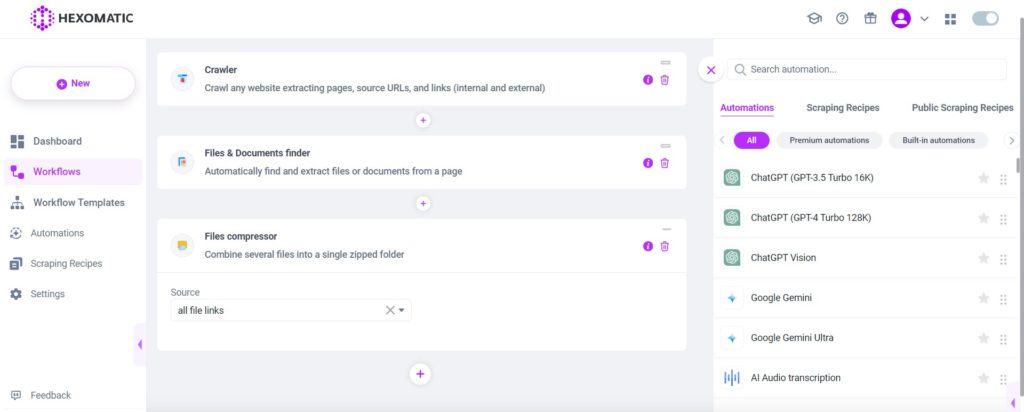
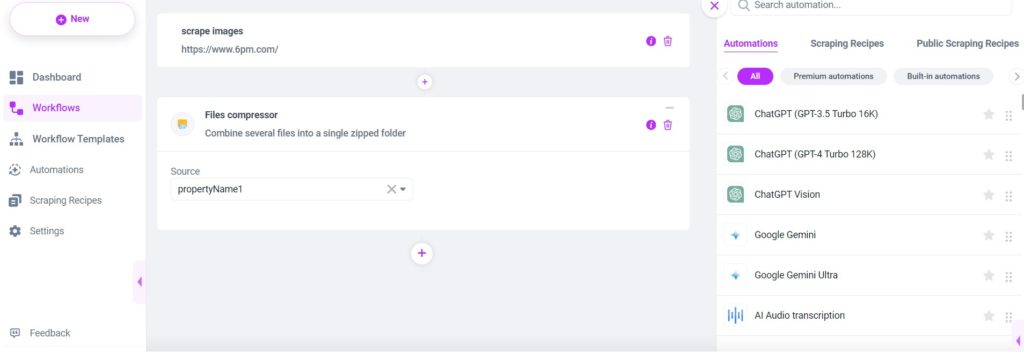
Step 4A: To save the images to a zip file add the files compressor automation
If you want to save the images directly to your device, use the files compressor automation. This will compress all the images into one convenient file you can download and extract on your computer.
Add the files compressor automation, selecting all file links as the source.
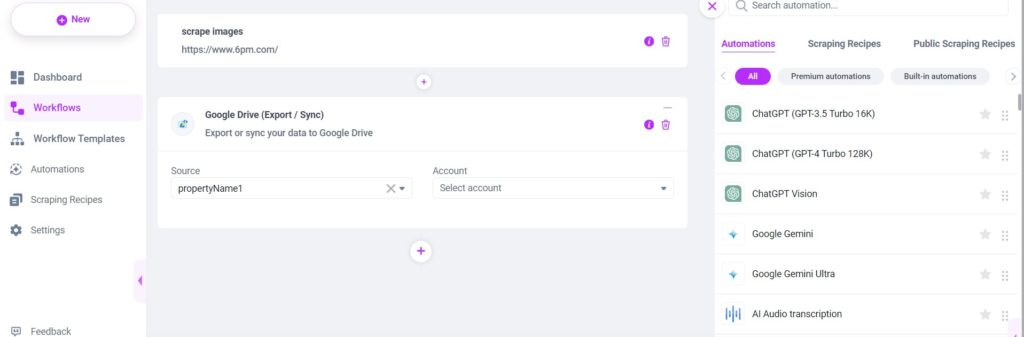
Step 4B: To save to Gdrive add the Google drive (export/sync) automation
Optionally, you can export your images to your Google drive by using our Google (export/sync) automation.
Step 5: Run or schedule the workflow
Now, you can run your workflow to get the images.
Method 2: How to create your own scraping recipe to scrape images from a webpage
Now, let’s see how you can scrape images from a webpage on autopilot using our Hexomatic scraping recipe builder.
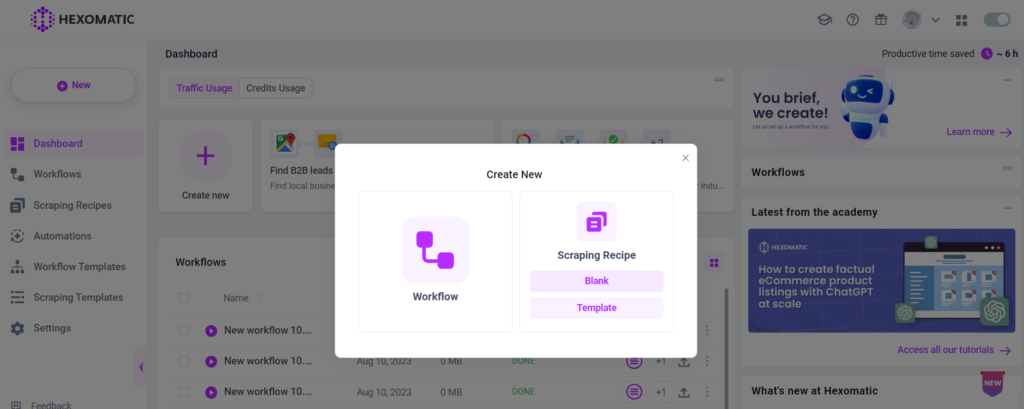
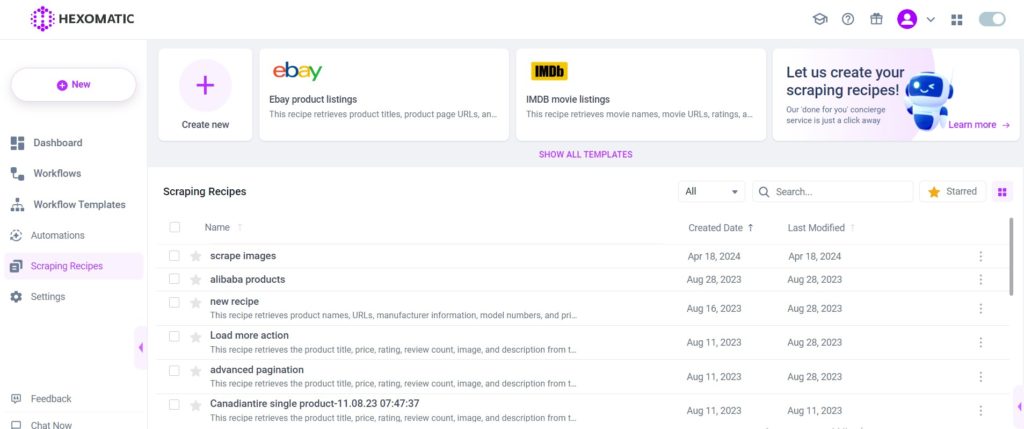
Step 1: Create a new scraping recipe
Go to your dashboard and create a blank scraping recipe.
Step 2: Add the website URL
Next, add the website URL to scrape images from. Then, click Preview.
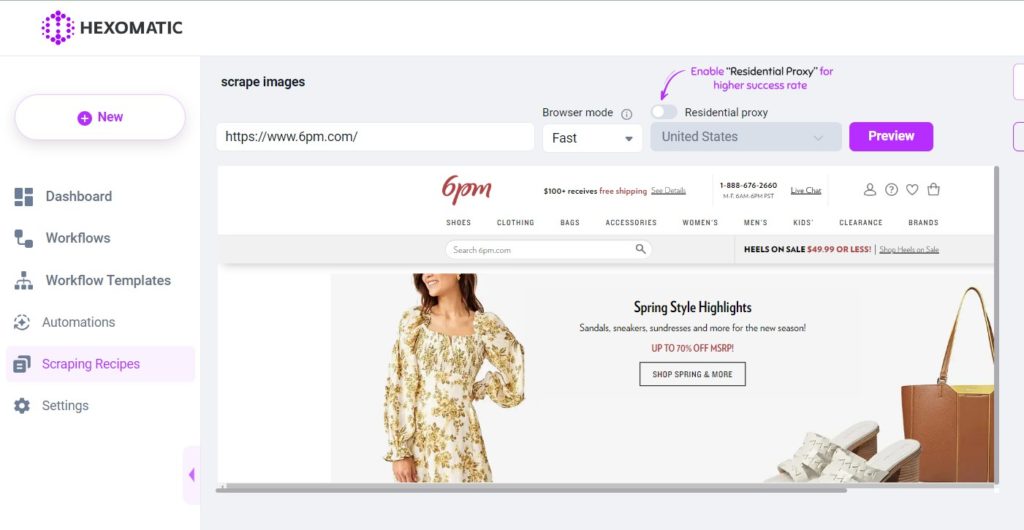
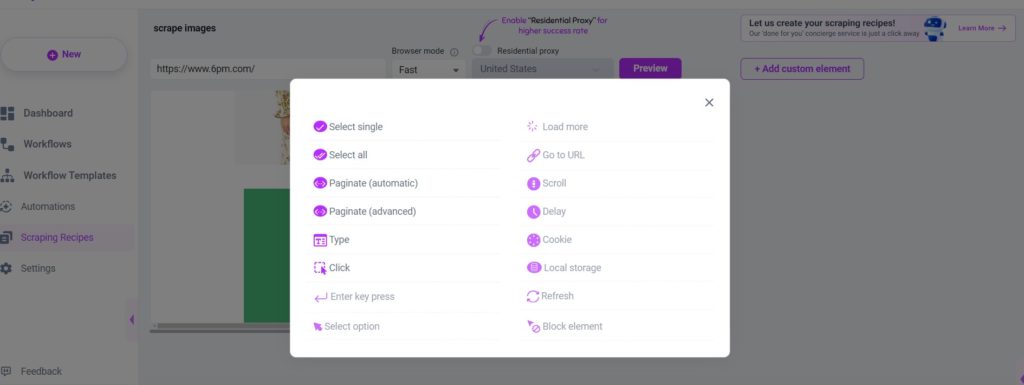
Step 3: Select the images to scrape
Select the image to scrape and choose Select all for scraping all the images of the same type on the webpage. Then, choose Source url as the type of the element and click Save.
Step 4: Create a new workflow from a scraping recipe
Go to the Scraping Recipes section and use the recipe in a workflow to scrape the images.
Next, there are two possible ways you can proceed: You can save the images to a zip file or export them to your Google Drive. Below, we will demonstrate how to do each method.
Step 5A: To save these to a zip file, add the files compressor automation
Now when you scraped all the images you wanted, you will also need some image editors or image manipulation service. Thus, you will have all your desired images ready and edited. If you want to save the images directly to your device, use the files compressor automation. This will compress all the images into one convenient file you can download and extract on your computer.
Add the files compressor automation, selecting the property (in this case: PropertyName1) as the source.
Then, click Continue.
Step 5B: Export the images to Google Drive
To export the images to Google drive, you need to add the Google Drive (export/sync) automation. You can also use a picture editor to make any changes on the images you want.
After filling in all the required fields, click Continue.
Step 6: Run the workflow
Now you can run the workflow to view the results.
Method 3: How to scrape images from website with our Text and Image Scraper automation
In this section, we will show you how easy it is to scrape images from any website using our new automation- Text and Image Scraper.
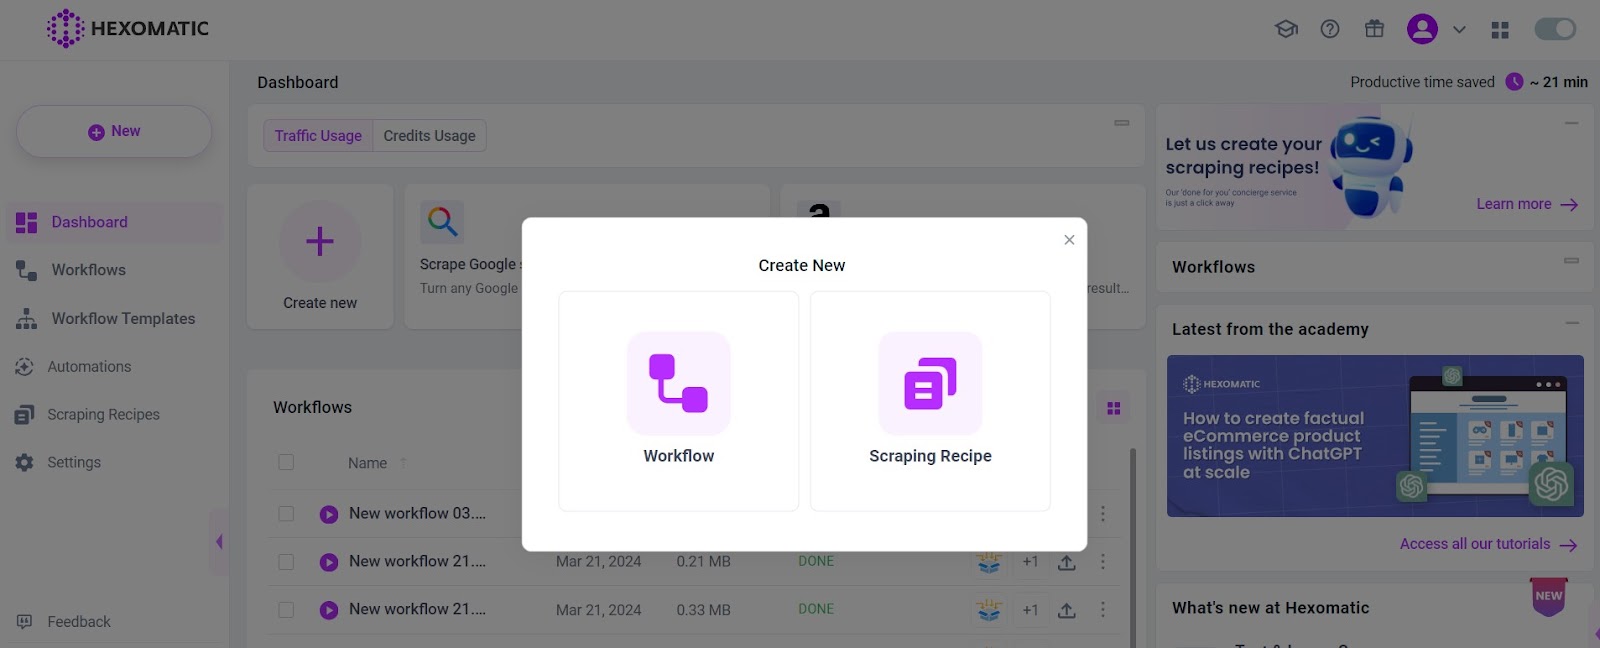
Step 1: Create a new workflow
Enter Hexomatic’s dashboard and create a new blank workflow. Then, choose Data input as your starting point.
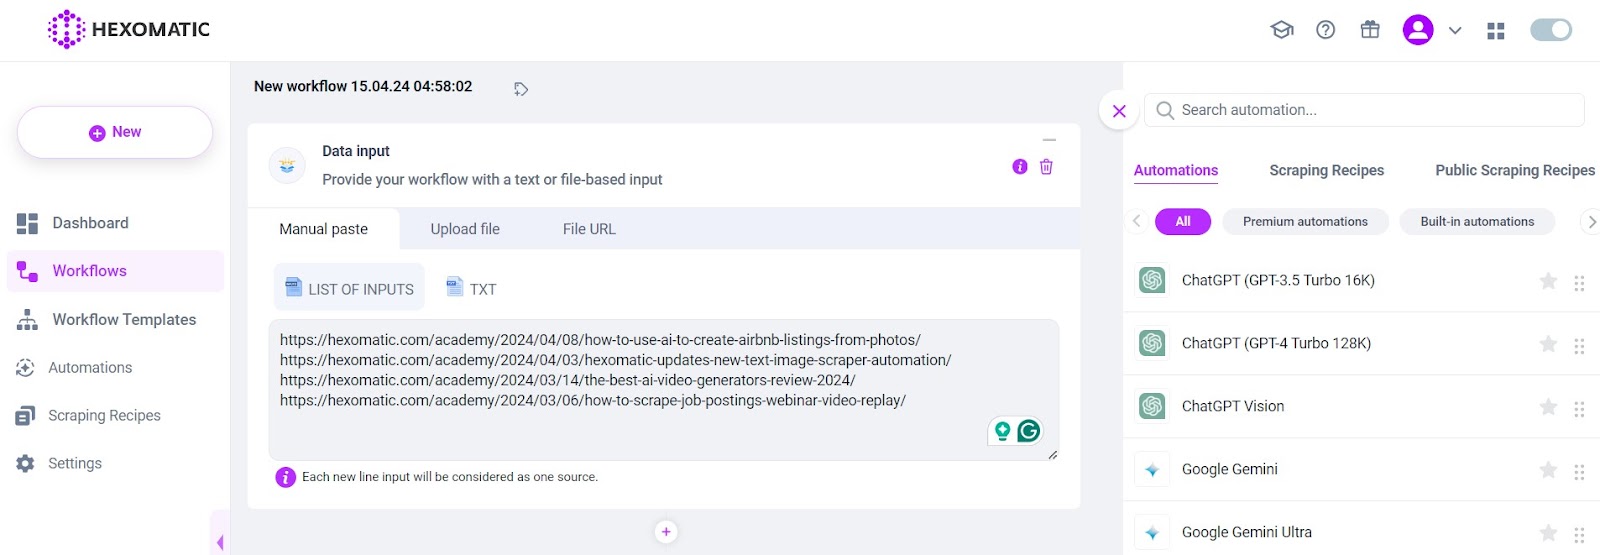
Step 2: Input the URL
To begin scraping, start by collecting the URLs of the web pages you’re interested in. Simply copy these links and paste them into the designated “Manual Paste” field.
You can scrape the images of as many websites as you want with this method.
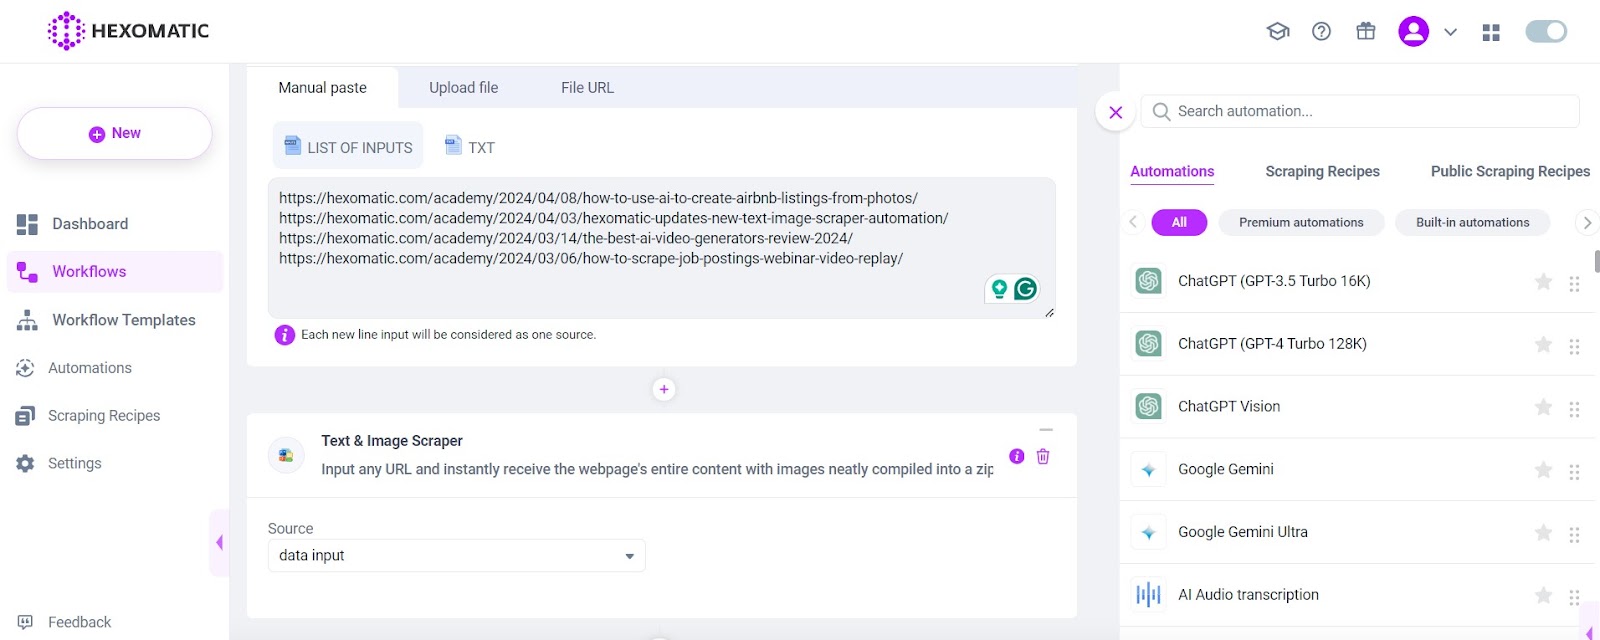
Step 3: Add the Text & Image Scraper automation
Click on the “plus” icon located below and search for the Text & Image Scraper automation. Then, click on the tool and select “Data input” as your source.
Besides, you can easily find the Text & Image Scraper by using the search bar on the right side of the screen.
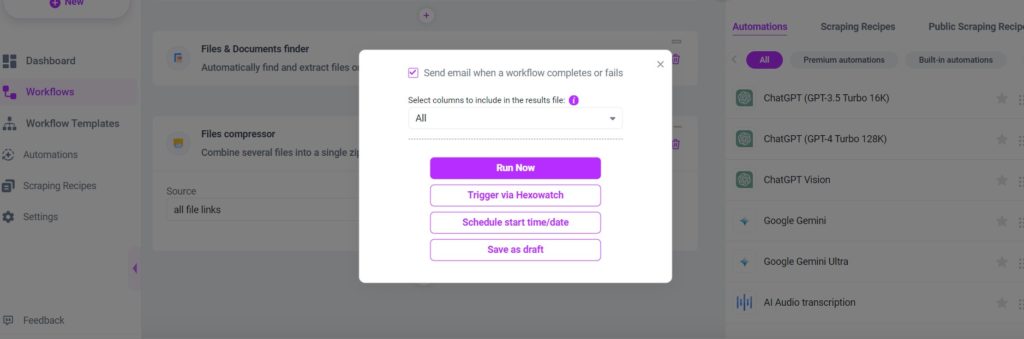
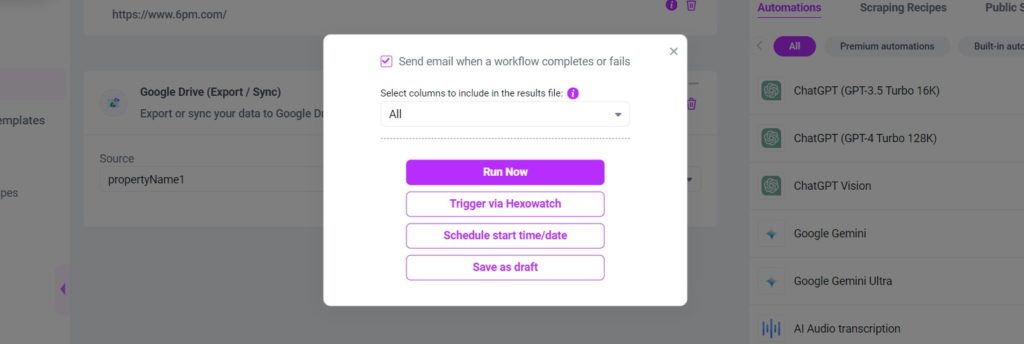
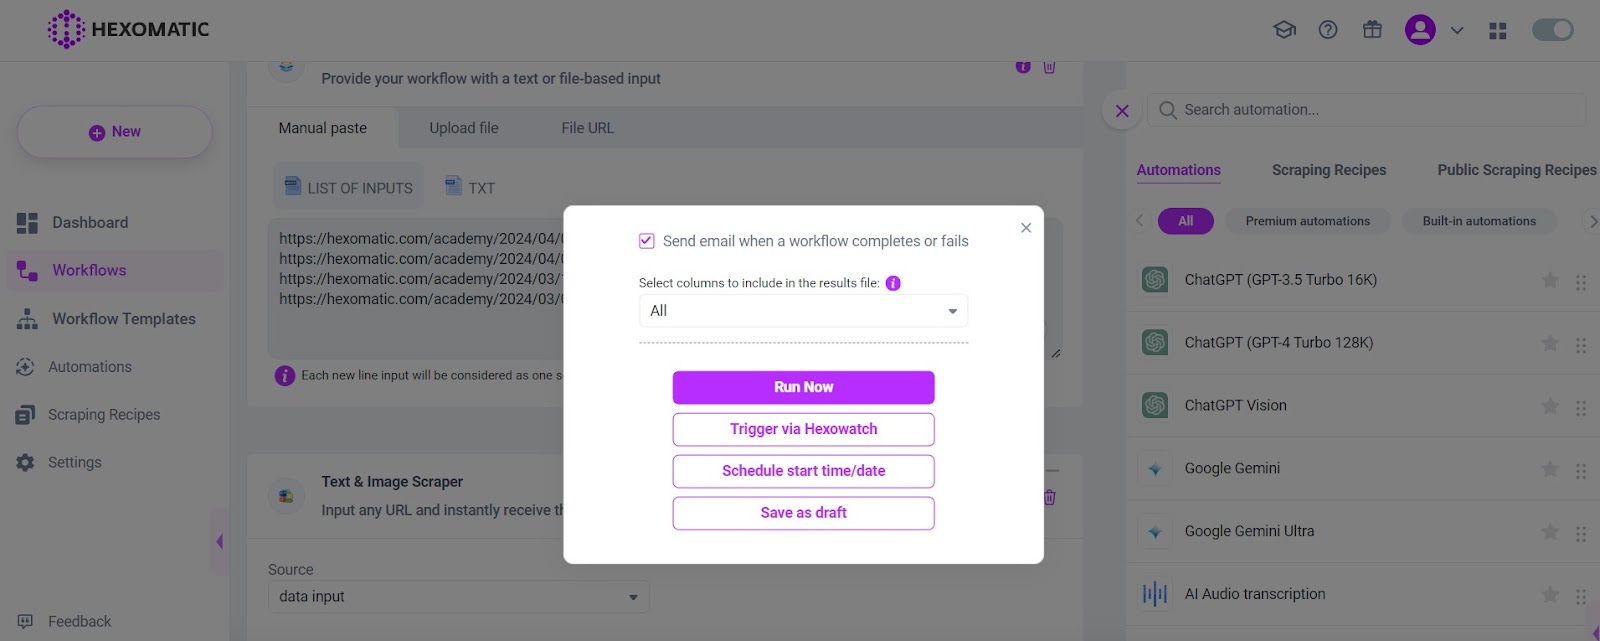
Step 4: Run the workflow
After adding the automation, click on the “Continue” button located at the lower right part of the screen. Then, select the “Run Now” option to run the workflow.
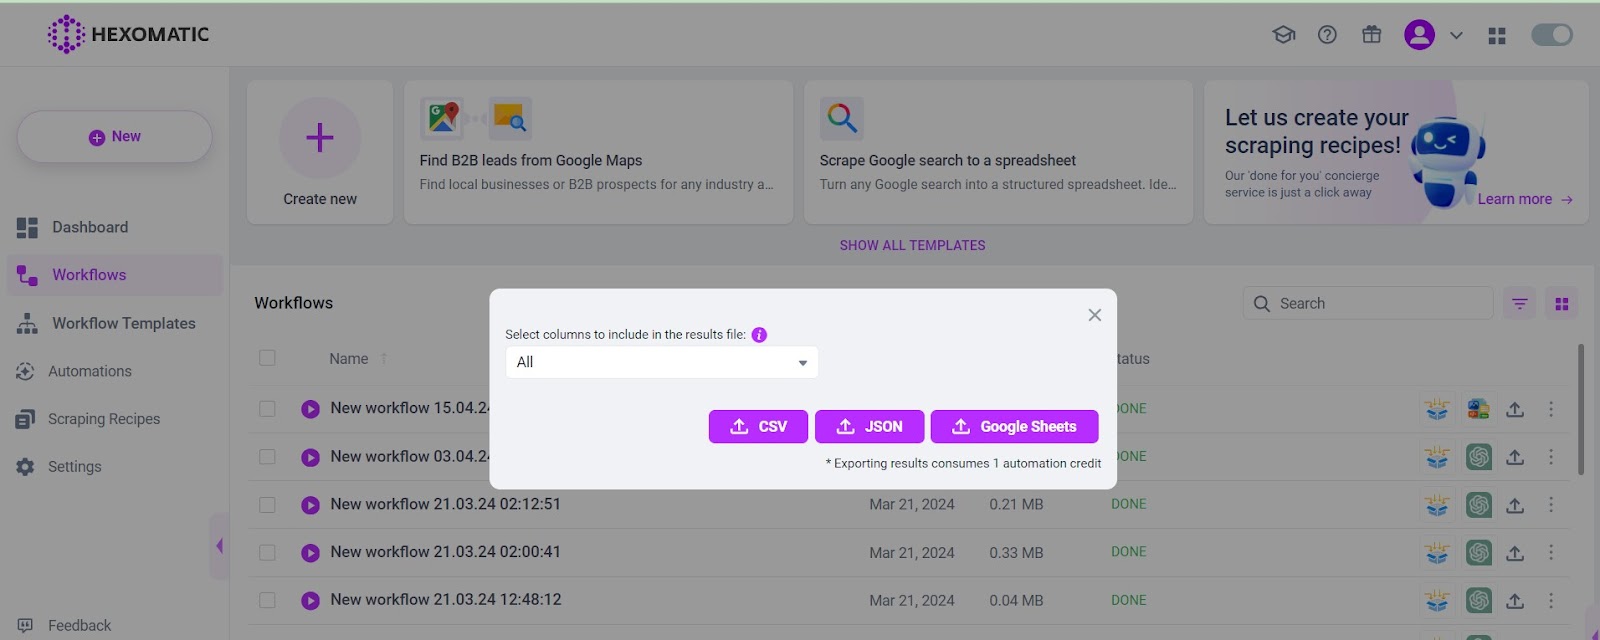
Step 5: Download the results
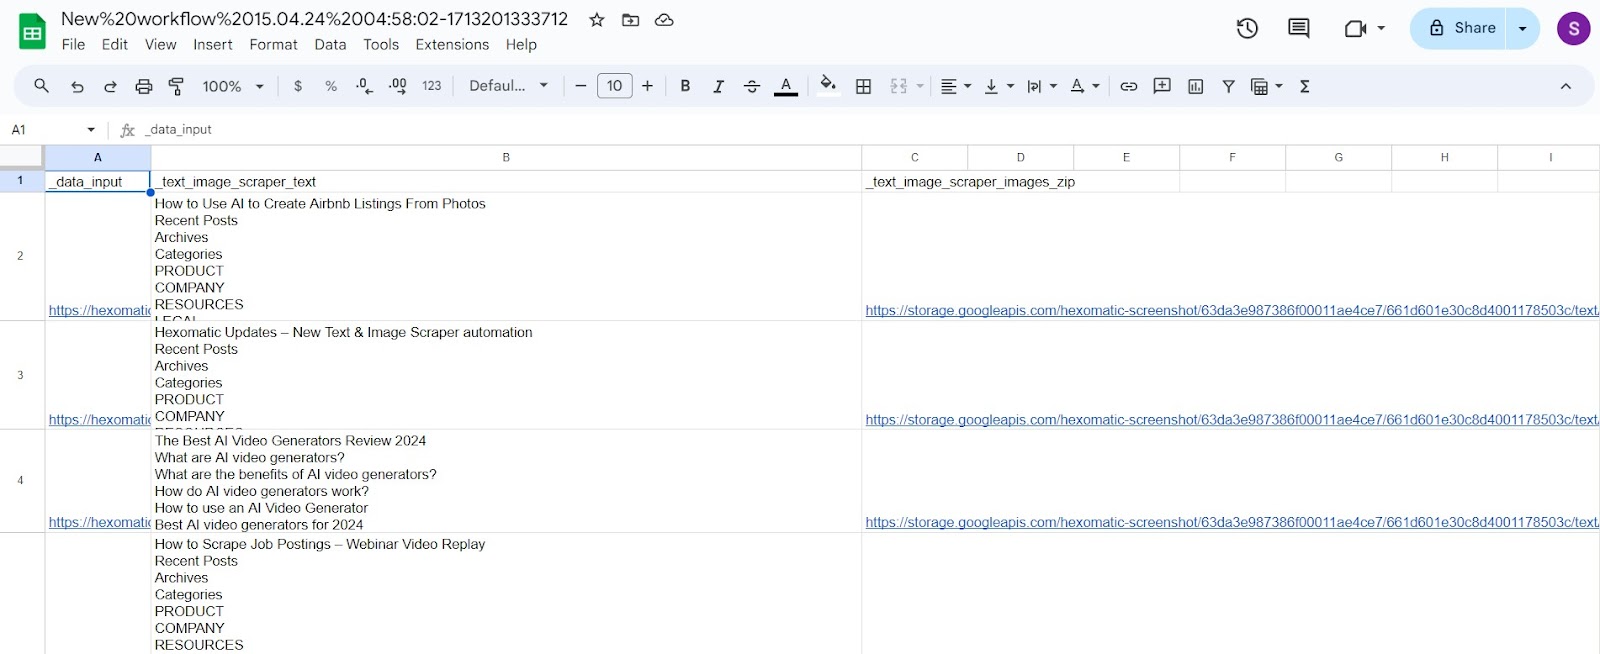
In just a few minutes, your results will be prepared. With a single click, you can save the scraped data directly into a Google Sheet. All the images of the webpage will already be in a zip file for your convenience.
You can see how Hexomatic neatly organizes the data into one comprehensive document, providing zip files for the images from each webpage.
This is one of the easiest ways to scrape all the images from website without wasting your precious time and energy.
Automate & scale time-consuming tasks like never before


Content Writer | Marketing Specialist
Experienced in writing SaaS and marketing content, helps customers to easily perform web scrapings, automate time-consuming tasks and be informed about latest tech trends with step-by-step tutorials and insider articles.
Follow me on Linkedin