Wikipedia is the most famous and widely used multilingual free online encyclopedia with over 56 million pages.
It is one of the first user-generated online encyclopedias where people from all over the world can become contributors.
The first edit was made to Wikipedia in January 2001, initially to complement Nupedia, an online encyclopedia edited by experts only.
Currently, the English version of Wikipedia has almost 120 million monthly unique visitors from the United States alone.
Scraping data from Wikipedia can be a great way to save money and labor.
It can be ideal for conducting research on any topic, discovering new categories and topics, keeping track of different events, and more.
For example, brands or celebrities can scrape Wikipedia to manage their reputation. Journalists can use it to keep track of the latest news updates, elections, information about politicians and other public figures, and more.
In this tutorial, we will demonstrate how to easily scrape data from Wikipedia using Hexomatic.
Optionally, you can create, for example, a WordPress post based on your data.
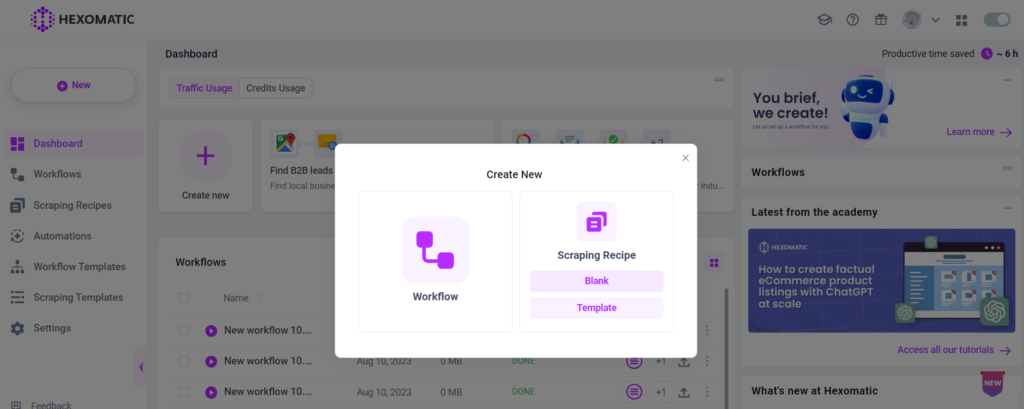
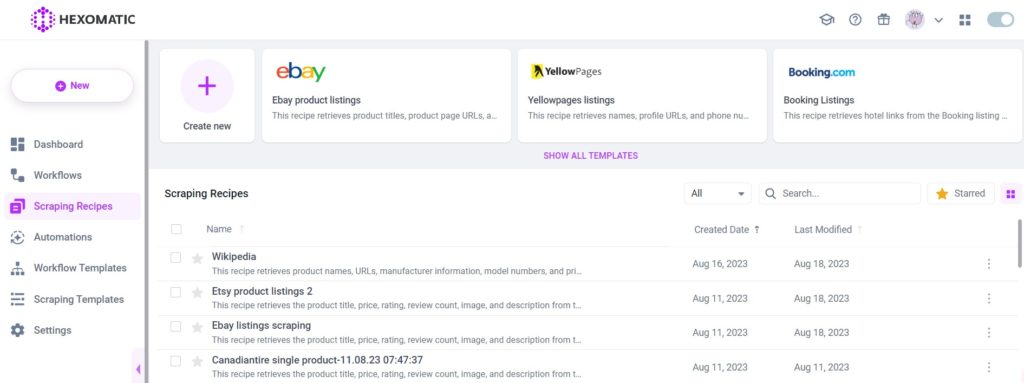
Step 1: Create a new scraping recipe
To get started, go to your dashboard and create a blank scraping recipe.
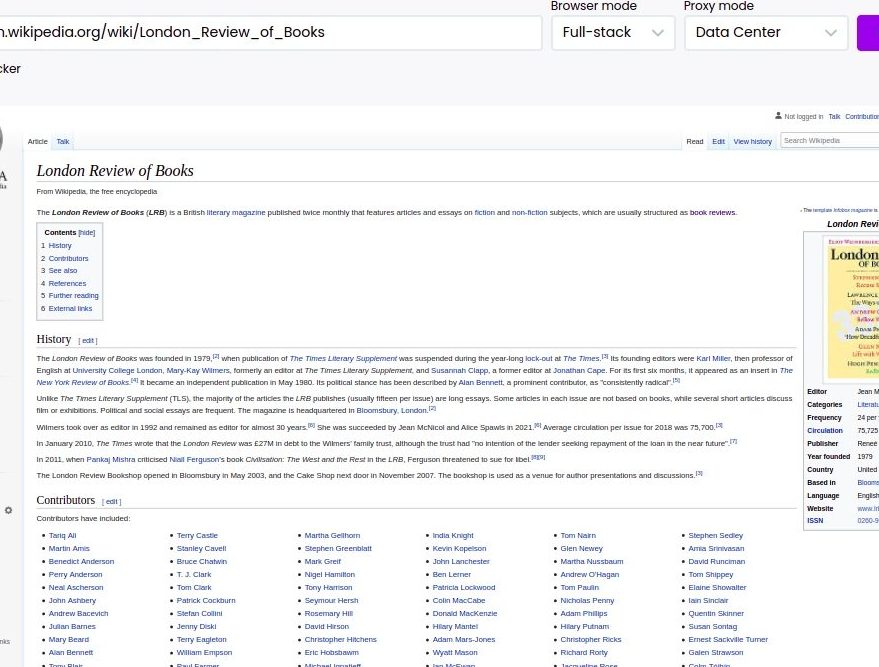
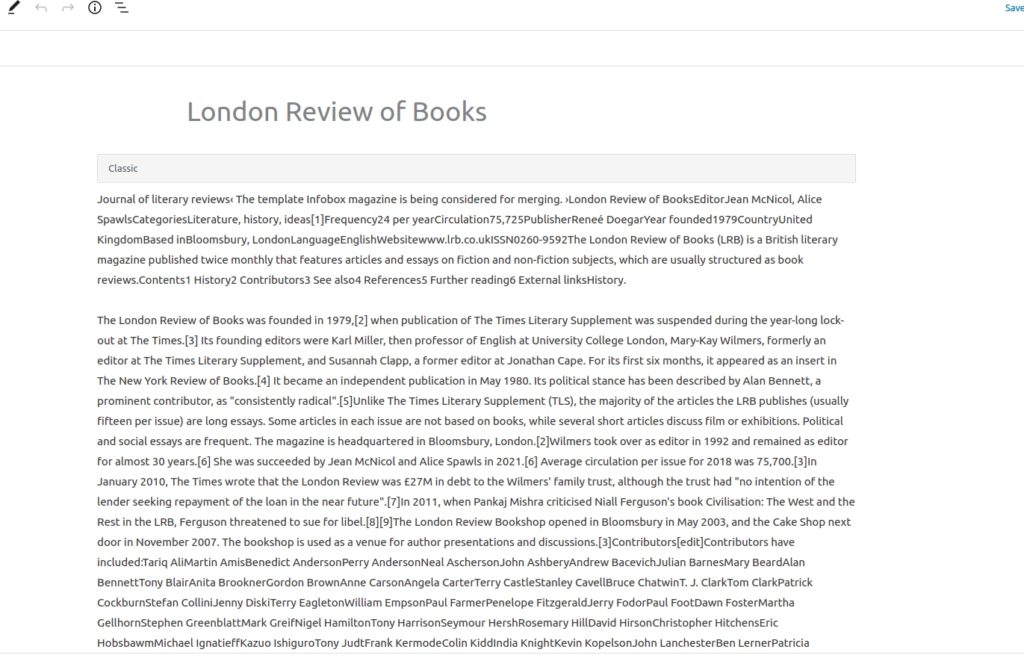
Step 2: Add the Wikipedia page URL
Add your desired Wikipedia page URL and click Preview.
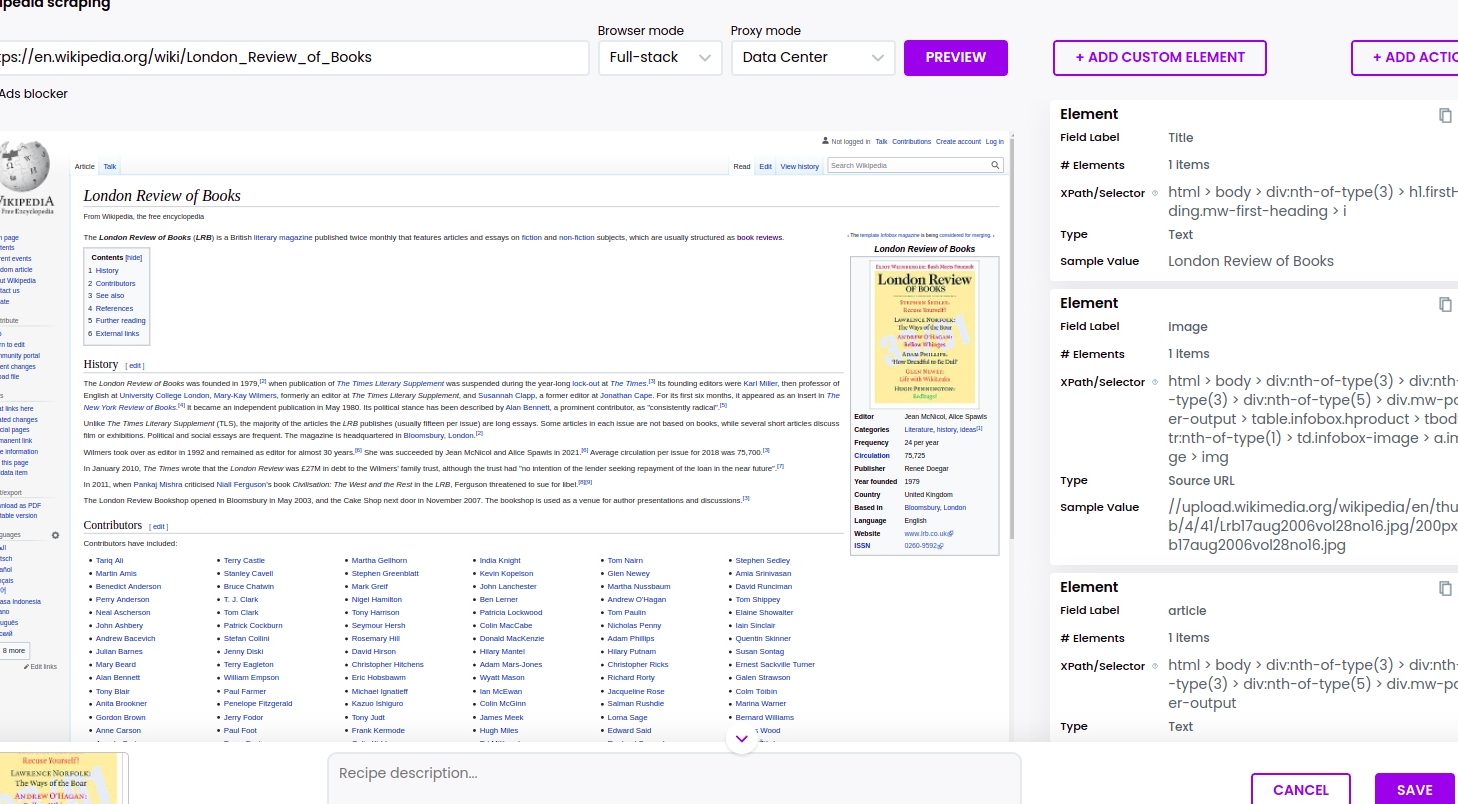
Step 3: Select elements to scrape
Select elements to scrape. Select the title of the article, the Paragraph, and the image, choosing the “Select single” option.
After selecting all the necessary elements, save the recipe.
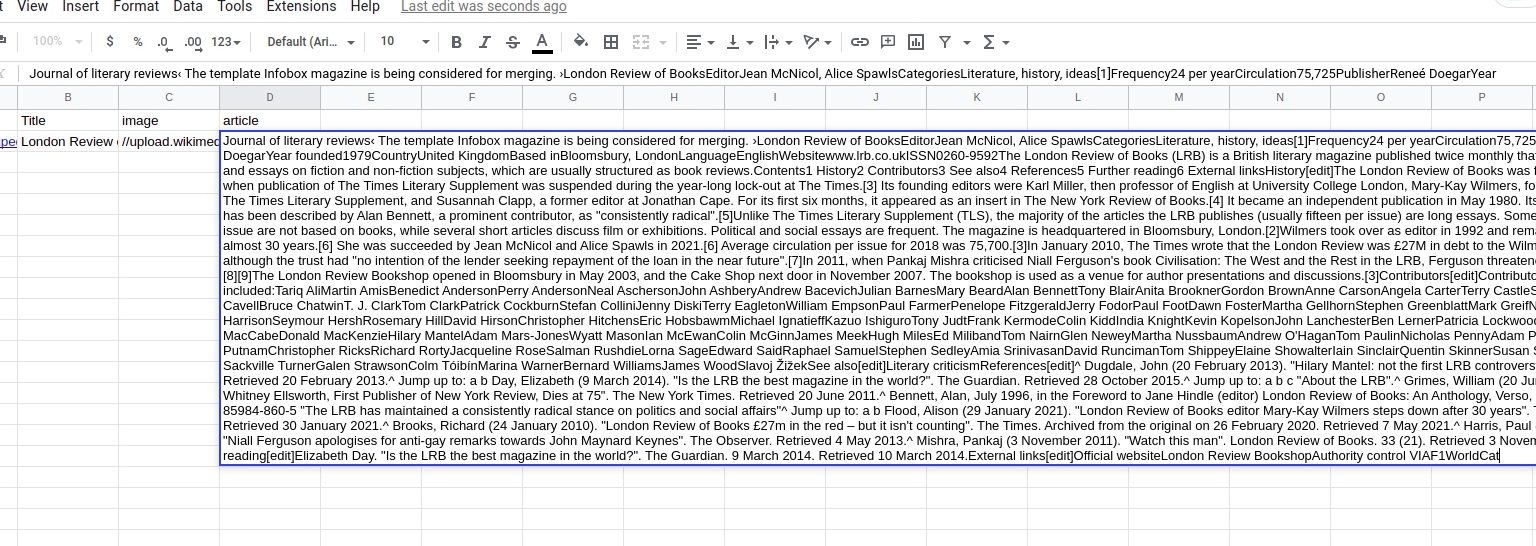
You can then run it in a workflow to see the result and export them to CSV or Google sheets.
In order to view and export the results of your scraping recipe, you need to run it in a workflow.
Step 4 (Optional): Use the recipe in a workflow to publish on WordPress
If you have a WordPress website you can easily create posts from the scraped data.
To do that, you need to run your scraping recipe in a workflow.
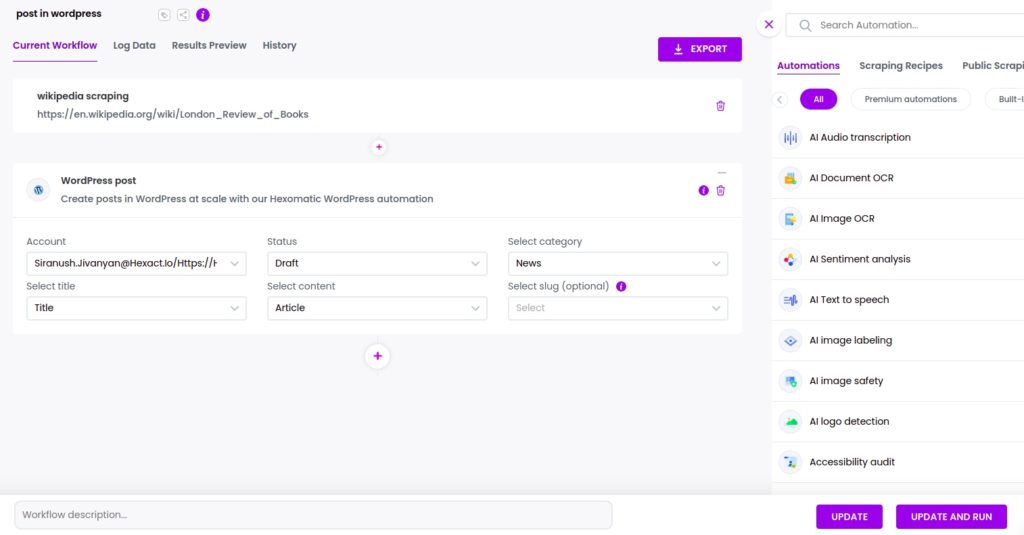
Step 5 (Optional): Add the WordPress post automation
Add the WordPress post automation, selecting the title of the post, the main text, the status of your post (Draft or Post), and the category.
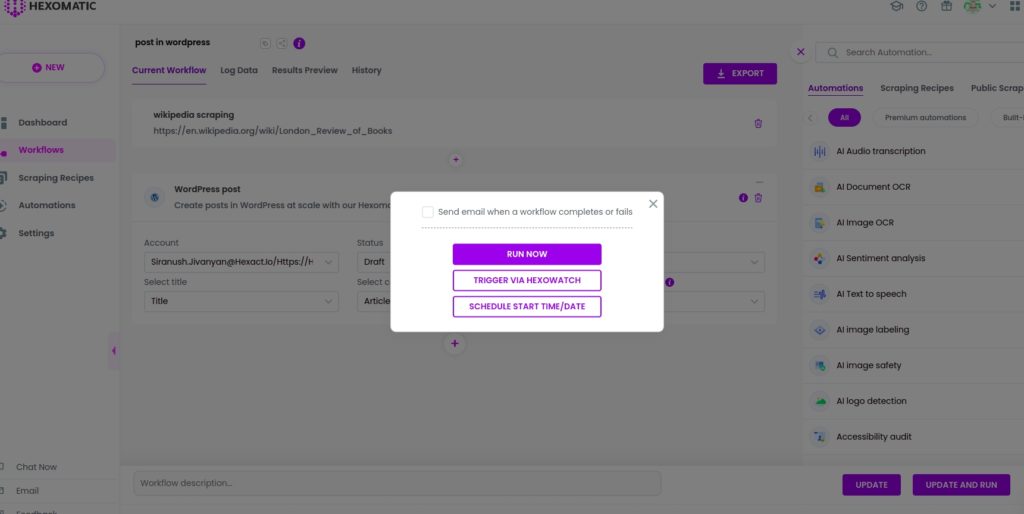
Step 6: Run the workflow
Run the workflow to post the scraped data to your WordPress account automatically.
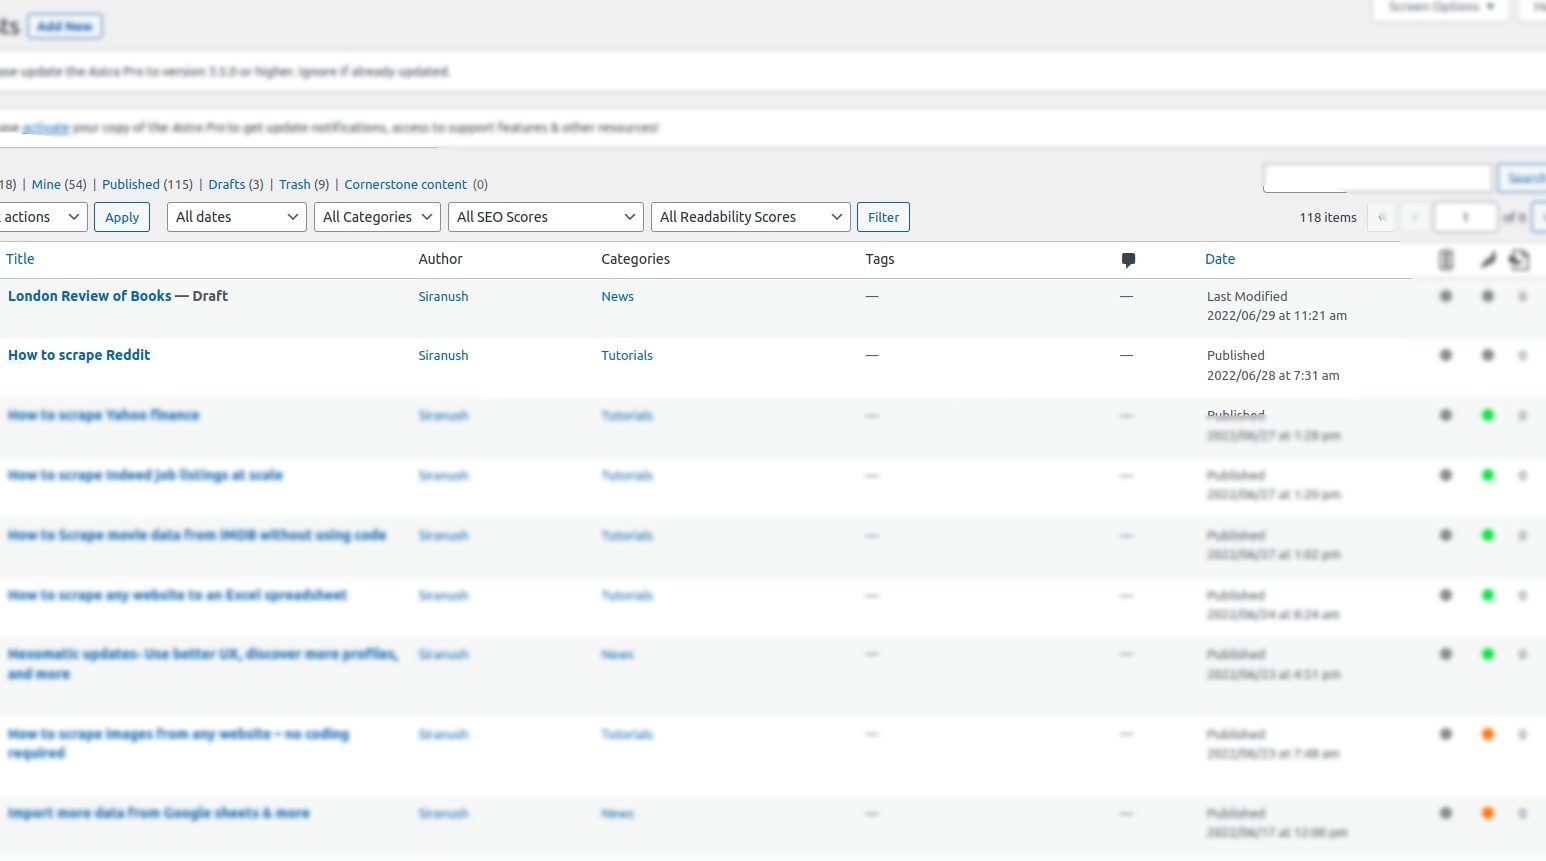
Step 7: View the results
Finally, you can check the post in your WordPress account and make edits if necessary.
You can also export the results to Google Sheets or CSV.
Automate & scale time-consuming tasks like never before

Marketing Specialist | Content Writer
Experienced in SaaS content writing, helps customers to automate time-consuming tasks and solve complex scraping cases with step-by-step tutorials and in depth-articles.
Follow me on Linkedin for more SaaS content