Etsy is one of the largest eCommerce platforms for selling original, craft, or vintage items.
Founded in 2005, Etsy has grown into a popular eCommerce platform worldwide with over 120 million items.
It is not an ordinary eCommerce website: in addition to crafts and craft supplies, it offers a large pool of collectibles, art, home goods, vintage items, jewelry, and clothing.
People worldwide can sell their products on Etsy, but over 60% of its sellers are from the United States.
Scraping Etsy can be ideal for competitor analyses, price monitoring, managing inventory, etc.
In particular, marketers can use Etsy to monitor pricing and conduct product research. In particular, you can scrape the product catalog of specific sellers to get access to their products, descriptions, and prices. Or scrape category pages or the homepage to get trends or popular products on a daily basis.
Scraping data from Etsy used to require complex software or custom-coded python scripts. In this tutorial we will show you how anyone can scrape Etsy in minutes, no coding or software required.
In this tutorial you will learn:
How to scrape product URLs from the homepage or category pages
How to scrape data from product listings including title, description, images, prices etc.
How to combine scraping recipes with automation to scrape product data from a list of URLs.
If you haven’t got a Hexomatic account, you can register for a free account in minutes.
- How to scrape product URLs from the homepage or category pages
- How to scrape data from product listings including title, description, images, prices, etc
- How to get the results of the first scraping recipe
- How to get the results of the second scraping recipe
- Combine the scraping recipes to scrape product data from a list of URLs.
How to scrape product URLs from the homepage or category pages
Let’s start with scraping product listings from a homepage or category page.
Step 1: Create a new scraping recipe to get lists of products
Create a blank scraping recipe.
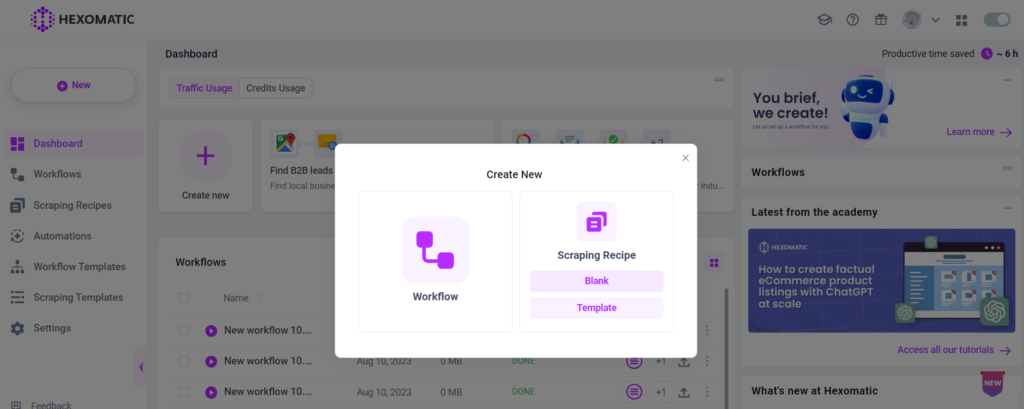
Step 2: Add the web page URL
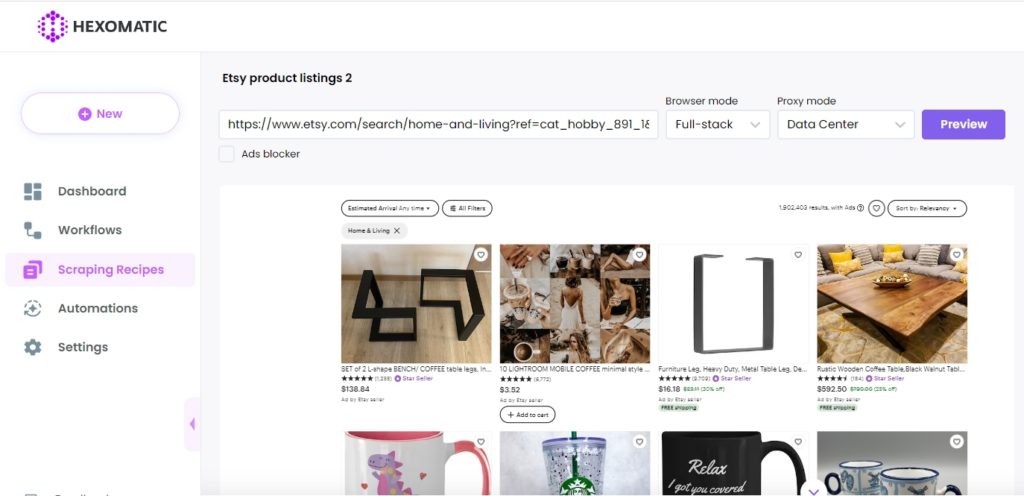
Add the Etsy web page URL with product listings and click Preview.
We recommend you to set Full-stack as your browser mode.
Step 3: Select elements to scrape
Now, you can select the elements to scrape. In this case, we will click on the first product title and choose the “select all” option for scraping all the elements of the same type.
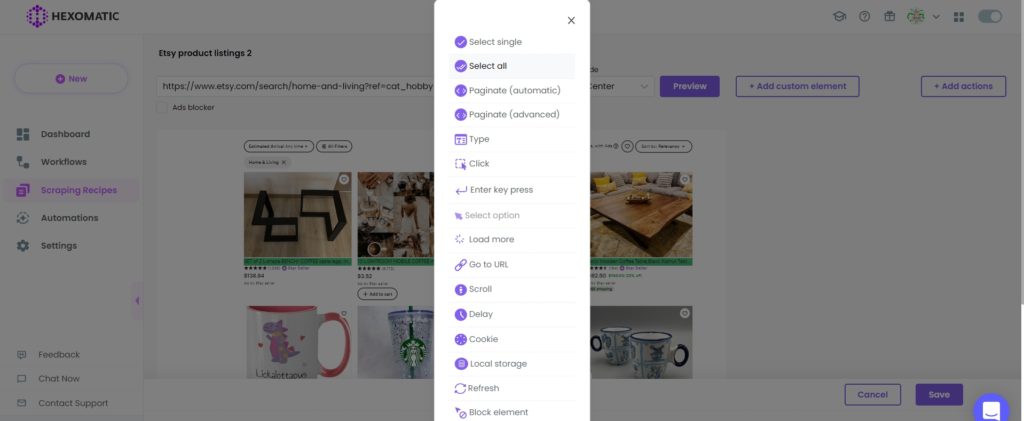
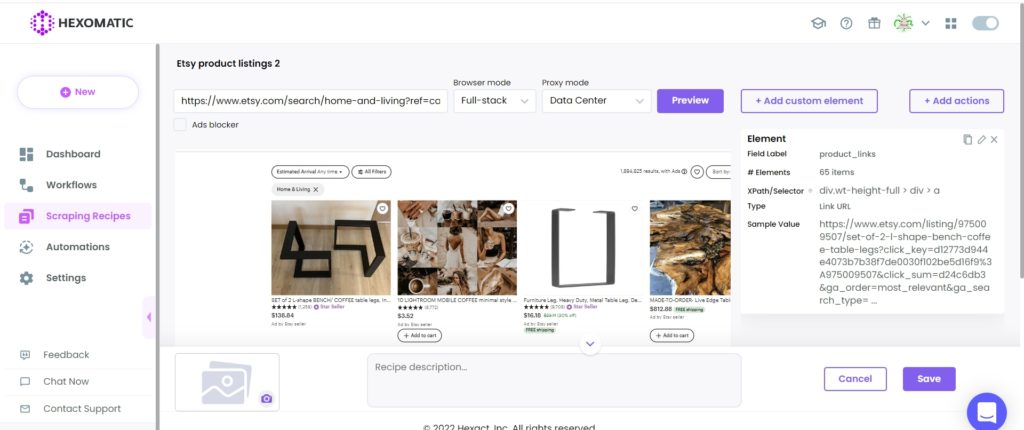
Next, select link url as the element type. In case the urls are not detected, go to Refine selector and in the HTML selector field, delete all the symbols coming after number 2.
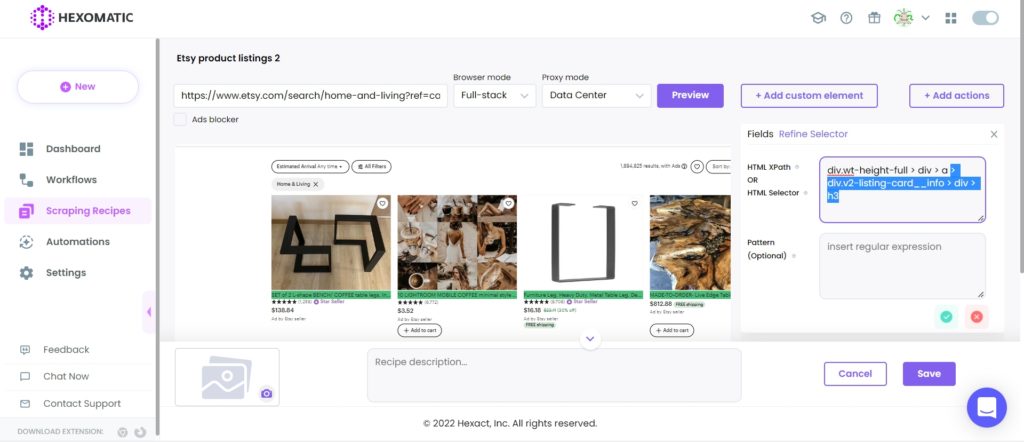
After deleting, the selector will look like this:
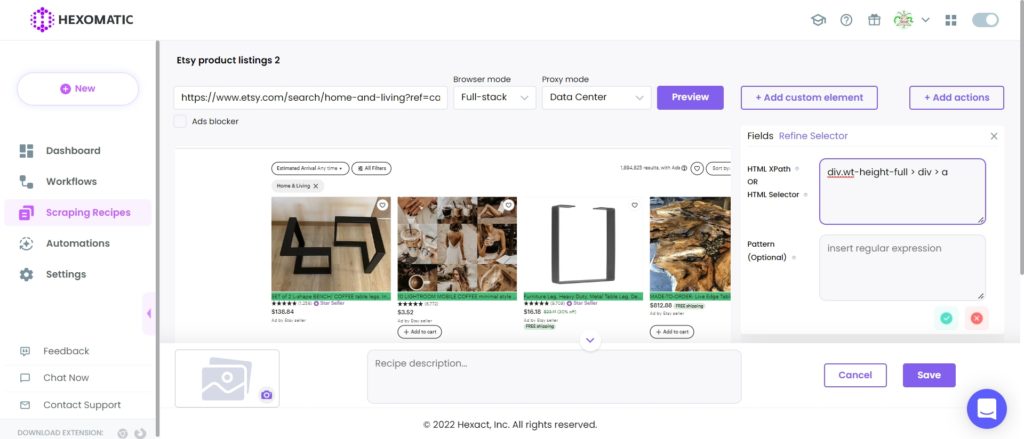
After selecting all the necessary elements, Save the recipe.
How to scrape data from product listings including title, description, images, prices, etc
After having the list of products, you may need to have detailed information for each product.
Step 1: Create a new scraping recipe to capture individual product listing
Now, you need to get back to your dashboard and create another scraping recipe for scraping a specific product listing.

Step 2: Add the web page URL
Add the URL of your desired Etsy product listing and click Preview.
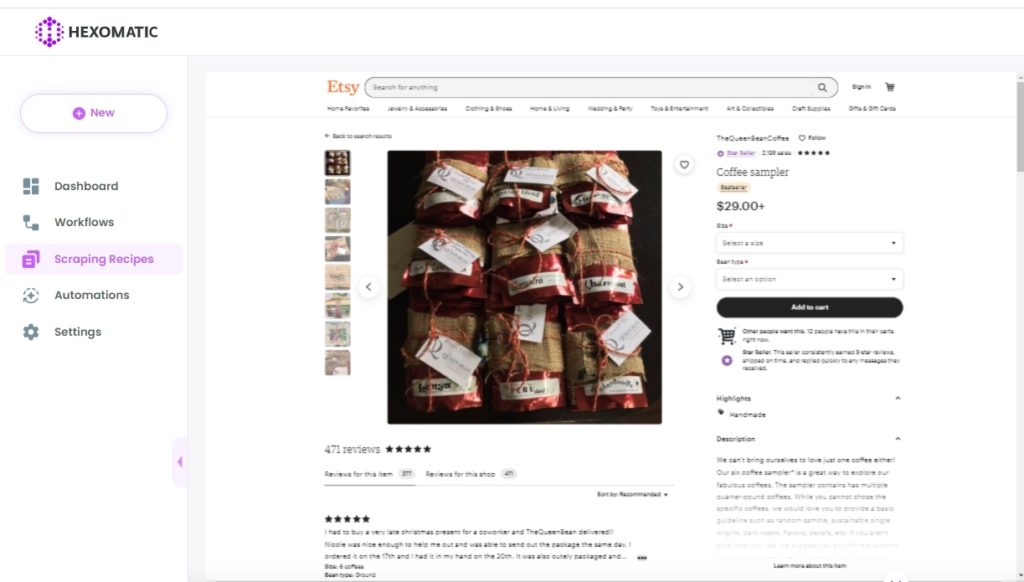
Step 3: Select elements to scrape
Select elements to scrape. In this case, we scrape the product title, its price, the number of reviews, and the image.
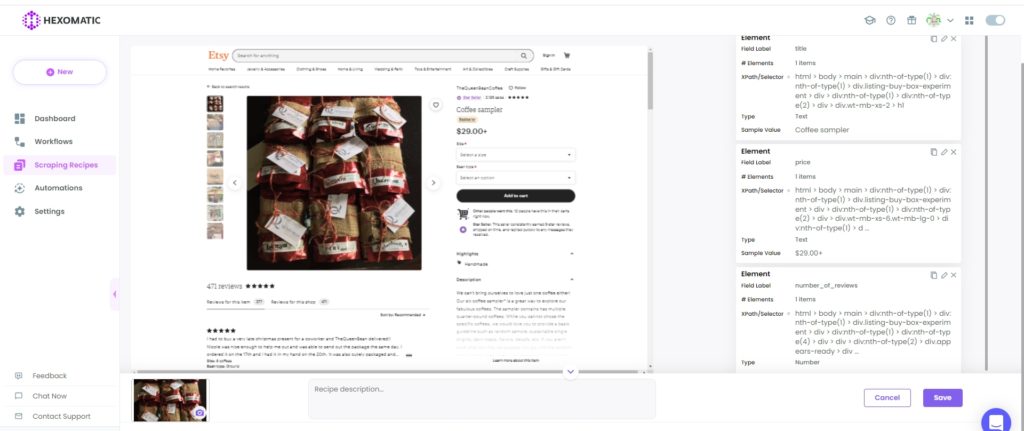
After selecting all the necessary elements, save the recipe.
How to get the results of the first scraping recipe
In this section, we will show you how to run the first scraping recipe in a workflow to get the product urls.
Step 1: Use the recipe in a workflow
From your scraping recipes list, select the product listings recipe and click Use in a workflow.
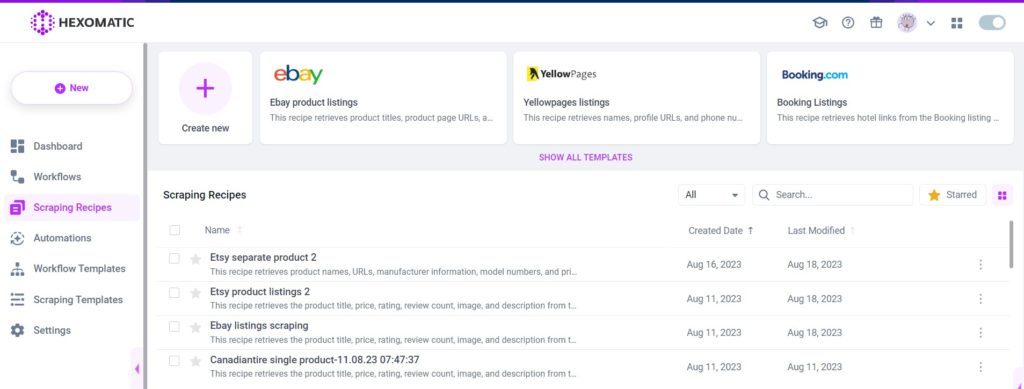
Step 2: Run the workflow
After choosing the “Use in a workflow” option, click Continue.
Then run the workflow to get the results.
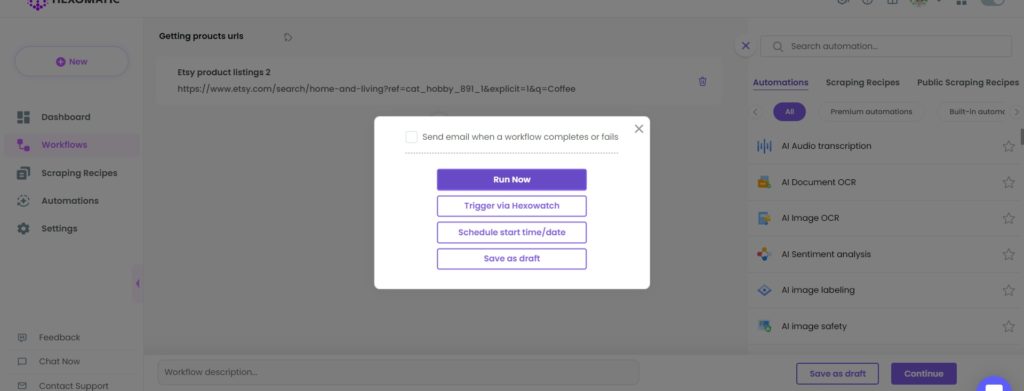
Step 3: View and save the results
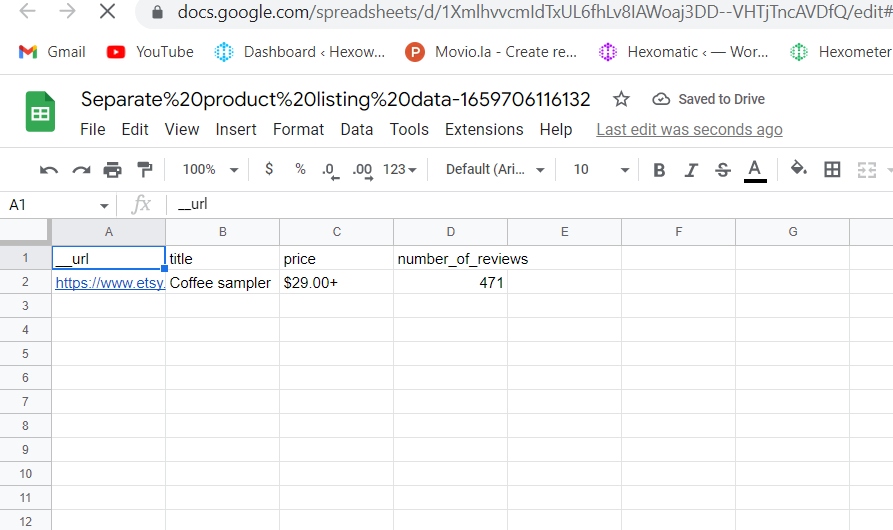
Once the workflow has finished running, you can view the results and export them to CSV or Google Sheets.
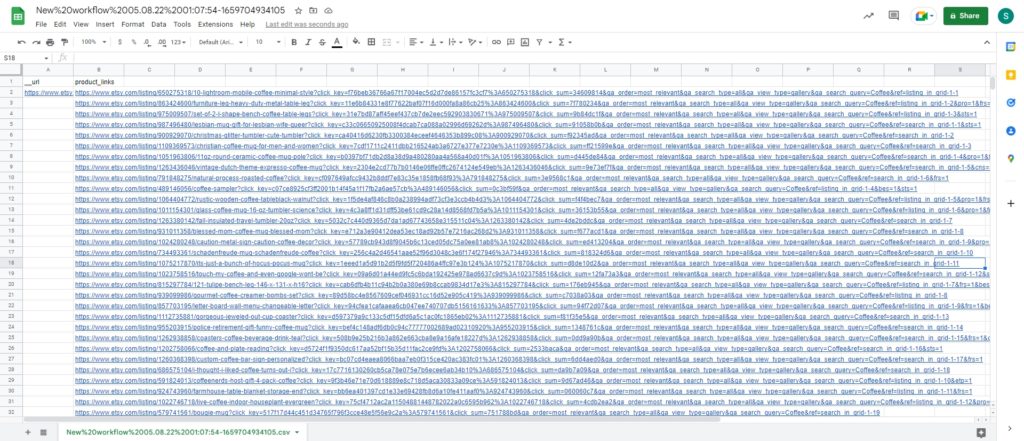
How to get the results of the second scraping recipe
To get the results of the second scraping recipe ( separate product data), you need to run it in a workflow, as was done above.
Step 1: Use the recipe in a workflow
From your scraping recipes list, select the separate product listing recipe and click Use in a workflow.

Step 2: Run the workflow
After choosing the “Use in a workflow” option, click Continue. Then run the workflow to get the results.
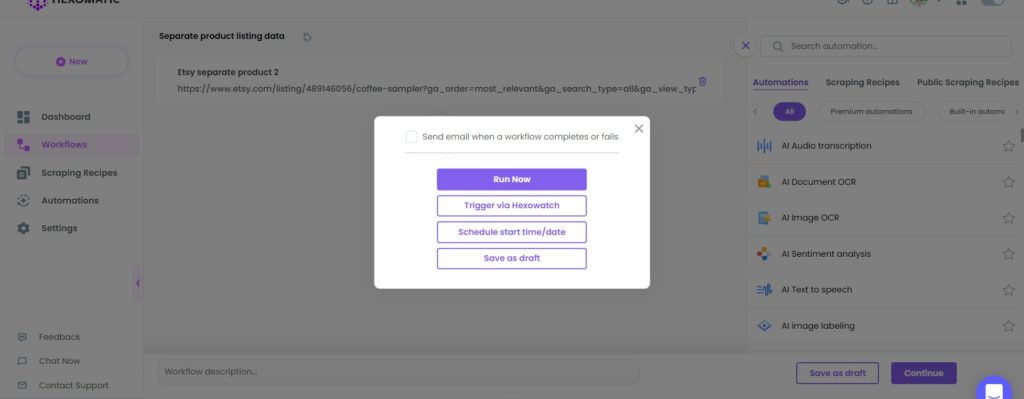
Step 3: View and save the results
Once the workflow has finished running, you can view the results and export them to CSV or Google Sheets.
Combine the scraping recipes to scrape product data from a list of URLs.
In the final section, we will demonstrate how to combine the scraping recipes to get the data from a list of URLs automatically, without creating separate scraping recipes.
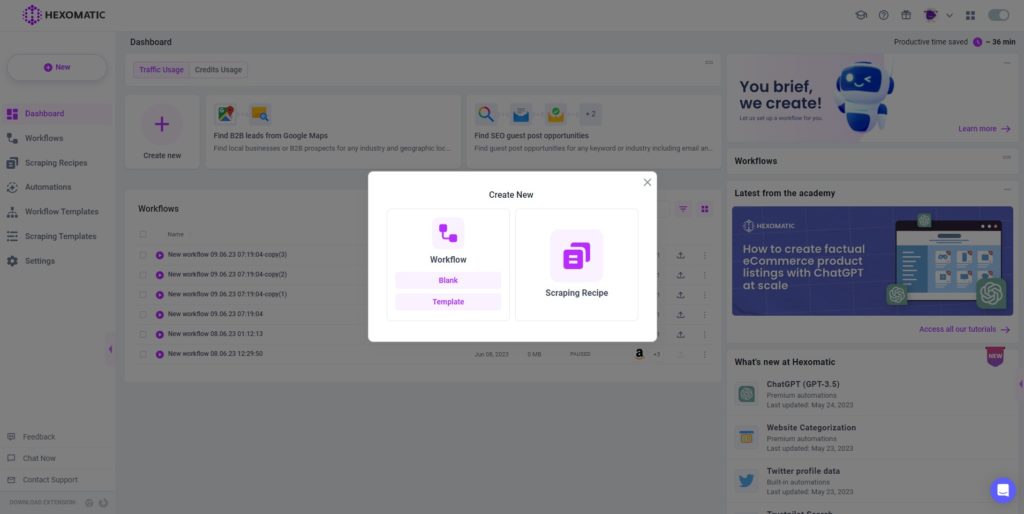
Step 1: Create a new workflow
Go to your dashboard and create a new blank workflow.
Step 2: Add the first scraping recipe
First, add the previously created scraping recipe, covering the list of products.

Step 3: Add the second scraping recipe
Now, add the separate product listing recipe, selecting product URLs as the source.
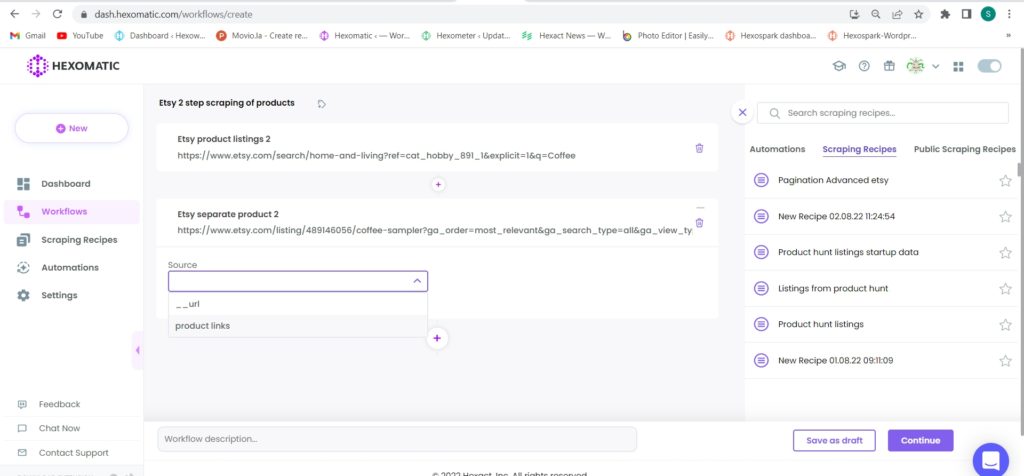
Then, click Continue.
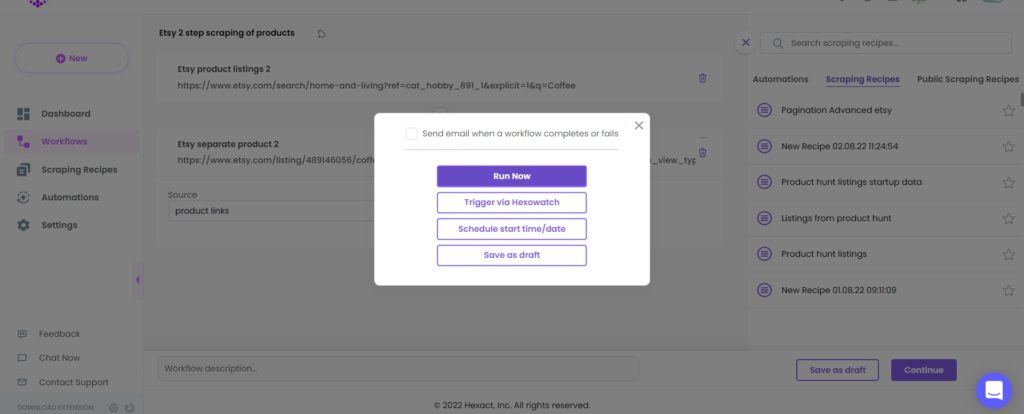
Step 4: Run or schedule the workflow
Now, you can run your workflow or schedule it.
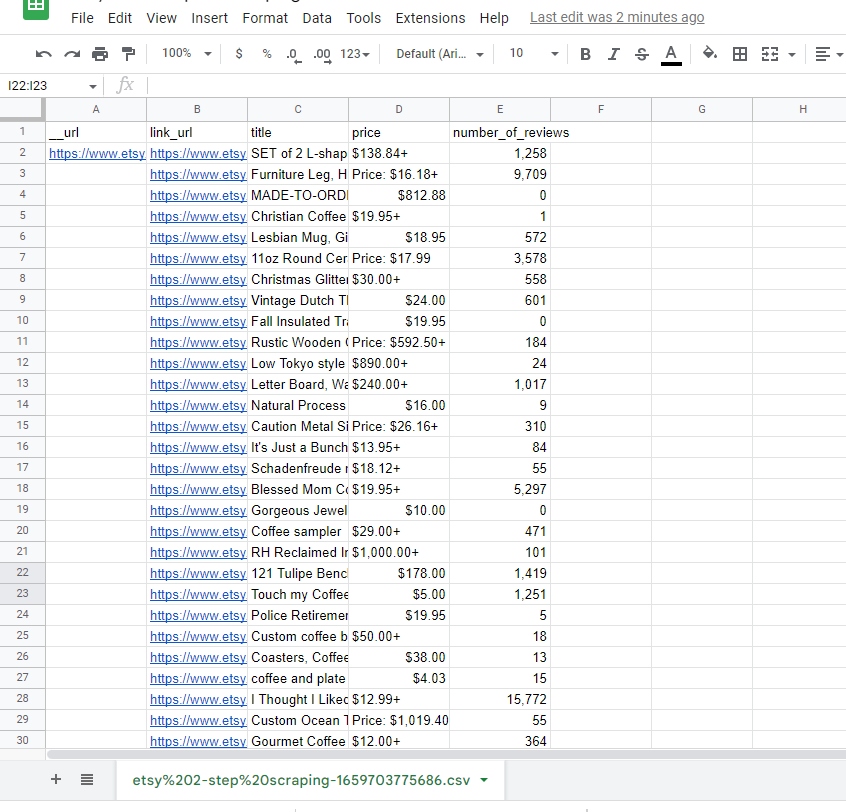
Step 5: View and save the results
Once the workflow has finished running, you can view the results and save them to CSV or Google Sheets.
Automate & scale time-consuming tasks like never before

Marketing Specialist | Content Writer
Experienced in SaaS content writing, helps customers to automate time-consuming tasks and solve complex scraping cases with step-by-step tutorials and in depth-articles.
Follow me on Linkedin for more SaaS content
