An XML sitemap is a file that contains a list of all the pages on your website, and is used by search engines to index your site. It is a simple text file that contains links to all the pages on your site, and is used by search engines to find and index your site.
XML sitemaps help search engines to easily discover and crawl all of the pages on a website.
They allow webmasters to specify the priority of each page on their website, as well as the frequency at which the pages are updated.
This helps search engines to efficiently crawl the site, and index its content, which can improve the visibility of the website in search engine results.
Scraping the XML sitemap of a website is a powerful technique which can enable you to get a list of every product or page on a website. Making it an effective way to scrape an entire website to spreadsheet format.
This information can be used for a variety of purposes, such as competitor analysis, SEO, analytics, or content creation. Additionally, sitemap scraping can help businesses identify new pages that have been added to a website, and monitor changes to existing pages.
In this short tutorial, we will show you the fastest way of scraping all the URLs from XML sitemaps in bulk to a convenient spreadsheet format.
To get started, you need to have a Hexomatic.com account.
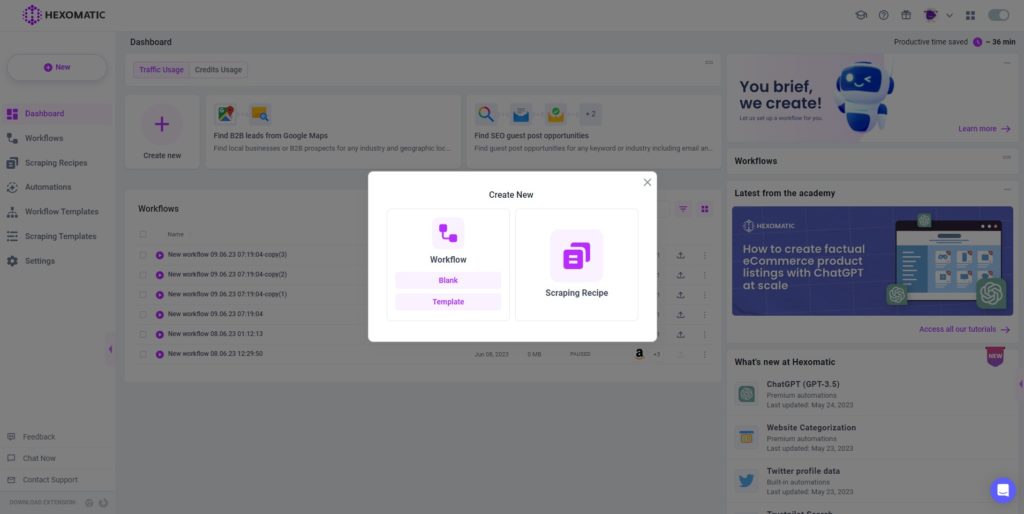
Step 1: Create a new workflow
Go to your dashboard and create a new workflow by choosing the “blank” option. Select the Data input automation as your starting point.
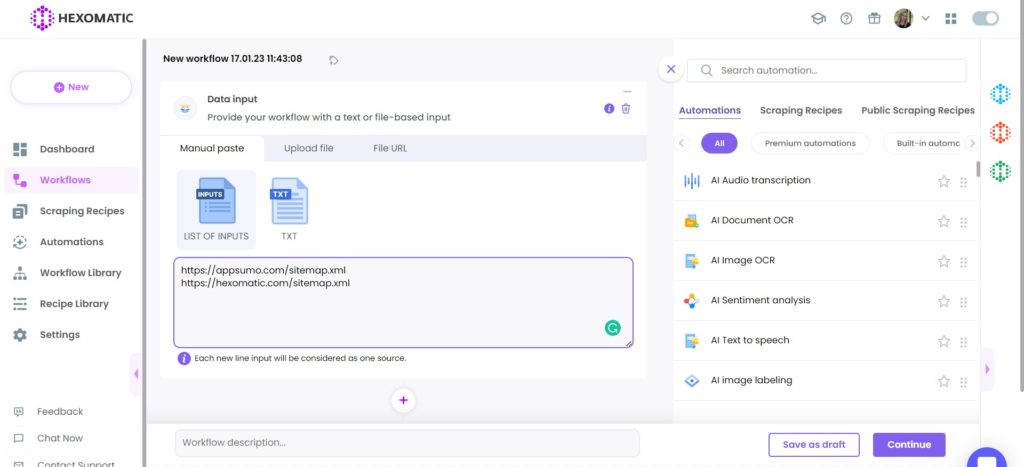
Step 2: Add the desired website sitemaps
Next, insert the desired website sitemaps using the Manual paste/list of inputs option. You can add a single sitemap or sitemaps in bulk.
Step 3: Add the sitemap extractor automation
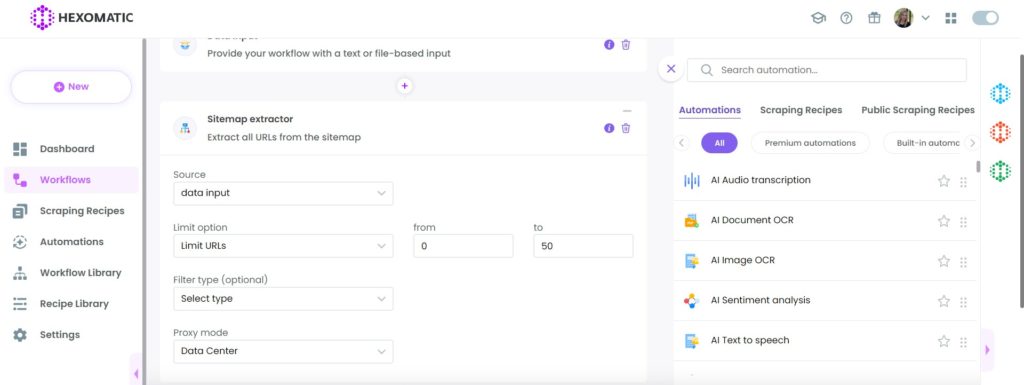
Now, you need to add our sitemap extractor automation, which automatically extracts URLs from your inputted sitemaps.
Set data input as the source. Set the limit option (Extract all URLs or Limit URLs). If you choose to limit URLs, you need to specify the number of URLs to be displayed.
Set the Proxy mode, and optionally choose the desired filter type.
Step 4: Run the workflow
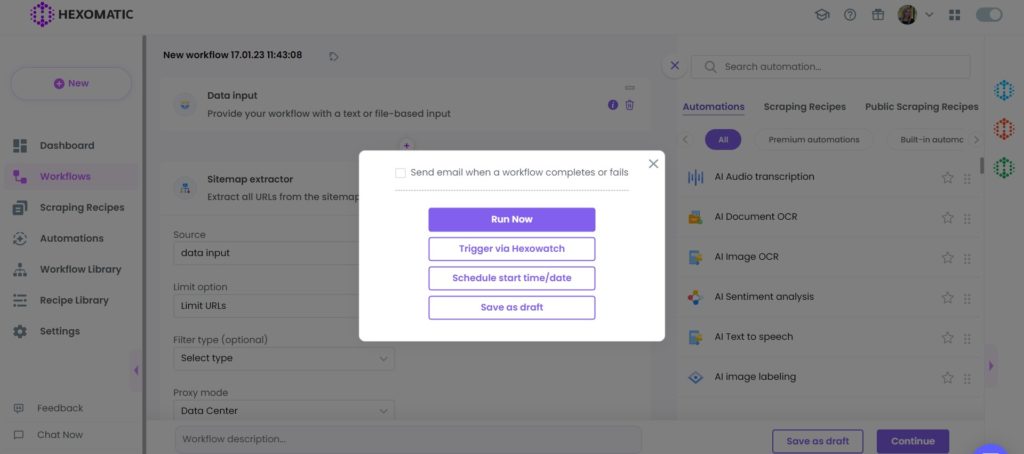
Click Run now to run your workflow or schedule it.
Step 5: View and save the results
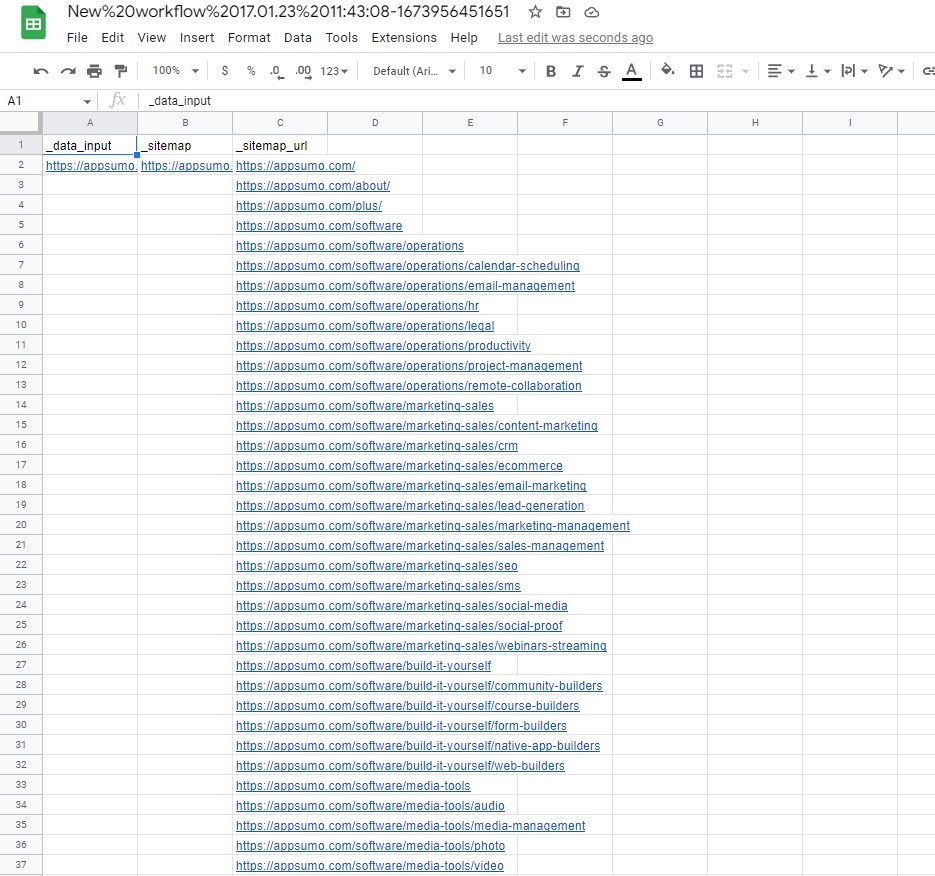
Once the workflow has finished running, you can view the results and easily export them to CSV or Google Sheets.
Automate & scale time-consuming tasks like never before

Marketing Specialist | Content Writer
Experienced in SaaS content writing, helps customers to automate time-consuming tasks and solve complex scraping cases with step-by-step tutorials and in depth-articles.
Follow me on Linkedin for more SaaS content
