Your email sender reputation, also known as IP reputation, or sender score determines whether or not your email should be delivered to the inbox.
The first step to avoiding your emails going to spam folders is to avoid common mistakes that may damage your IP address reputation.
Human error and out-of-date email addresses account for 80% of all invalid data which could damage your sender’s reputation. These create hard bounces which are interpreted by email sending platforms as potential spamming.
Therefore, it is crucial to validate email addresses periodically before sending email campaigns.
In this short tutorial, we will show you how to validate emails in bulk using Hexomatic.
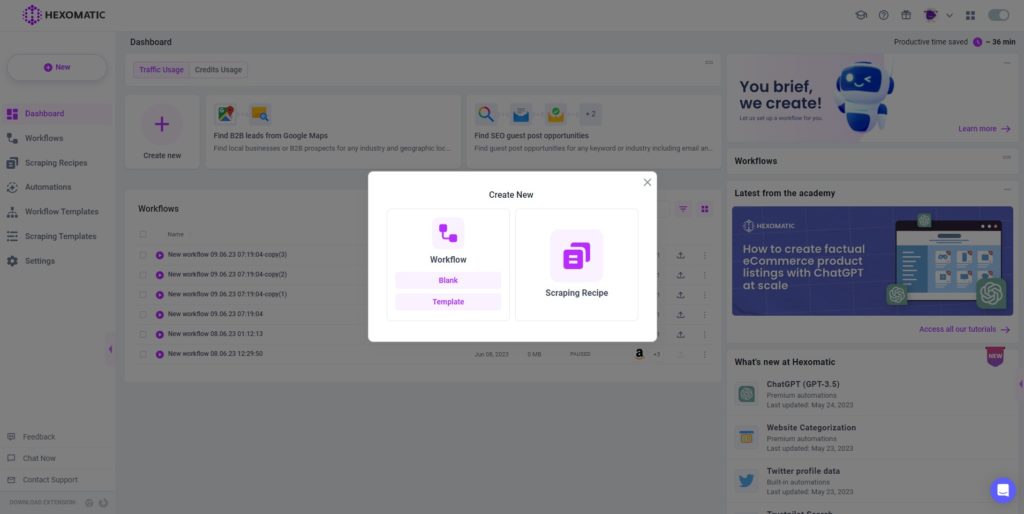
Step 1: Create a new workflow from data input
From your dashboard, create a new workflow by choosing the “blank” option. Then, select Data automation as a starting point.
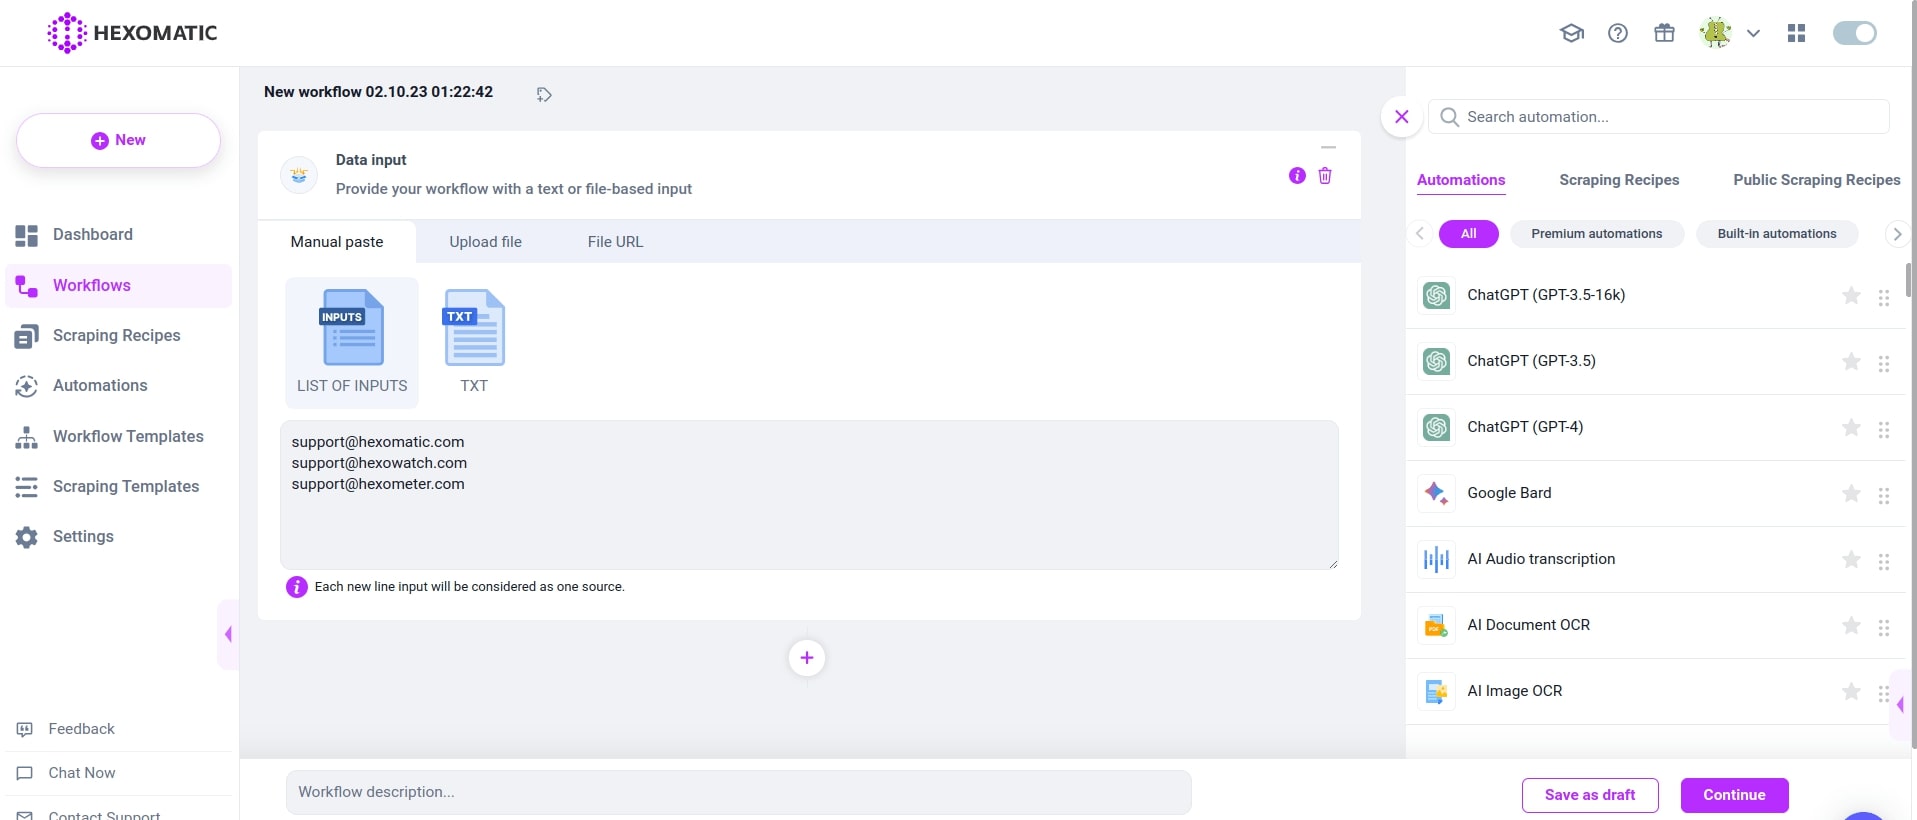
Step 2: Add the email addresses to check
Next, you have two options to proceed: add email address using Manual paste or upload a CSV file containing email addresses to check.
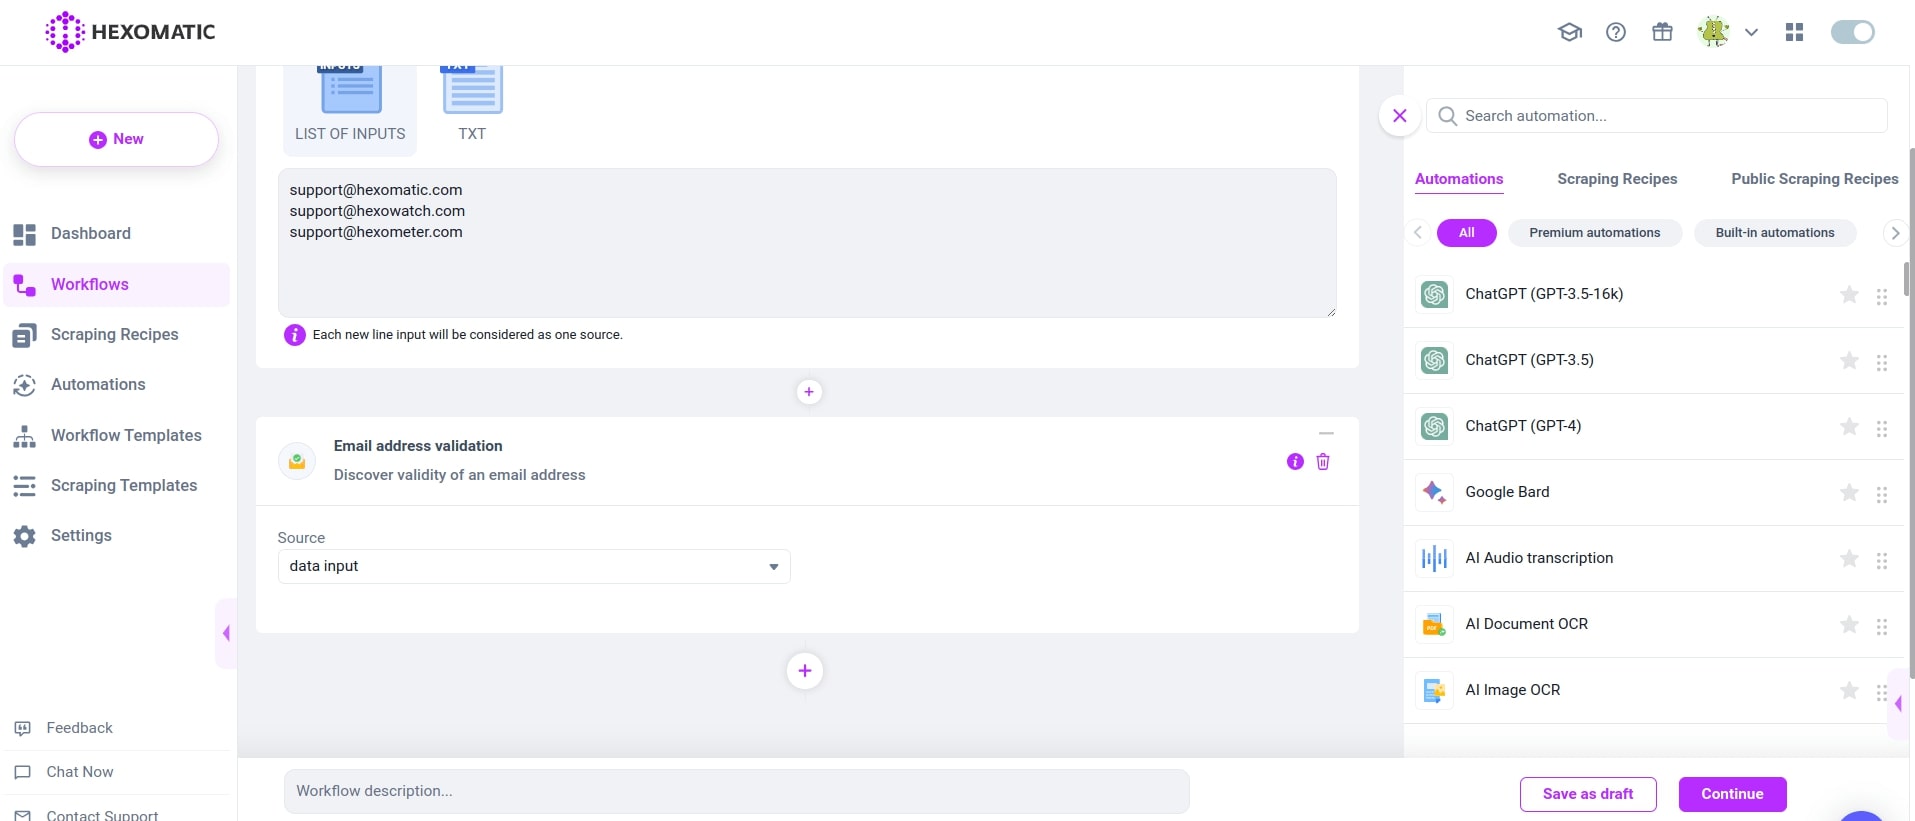
Step 3: Add the email validation automation
Next, you can use our built-in Email Address Validation automation or for more advanced checks our premium email Verification (EasyDMarc) automation.
Select Data input as the source, then click Continue.
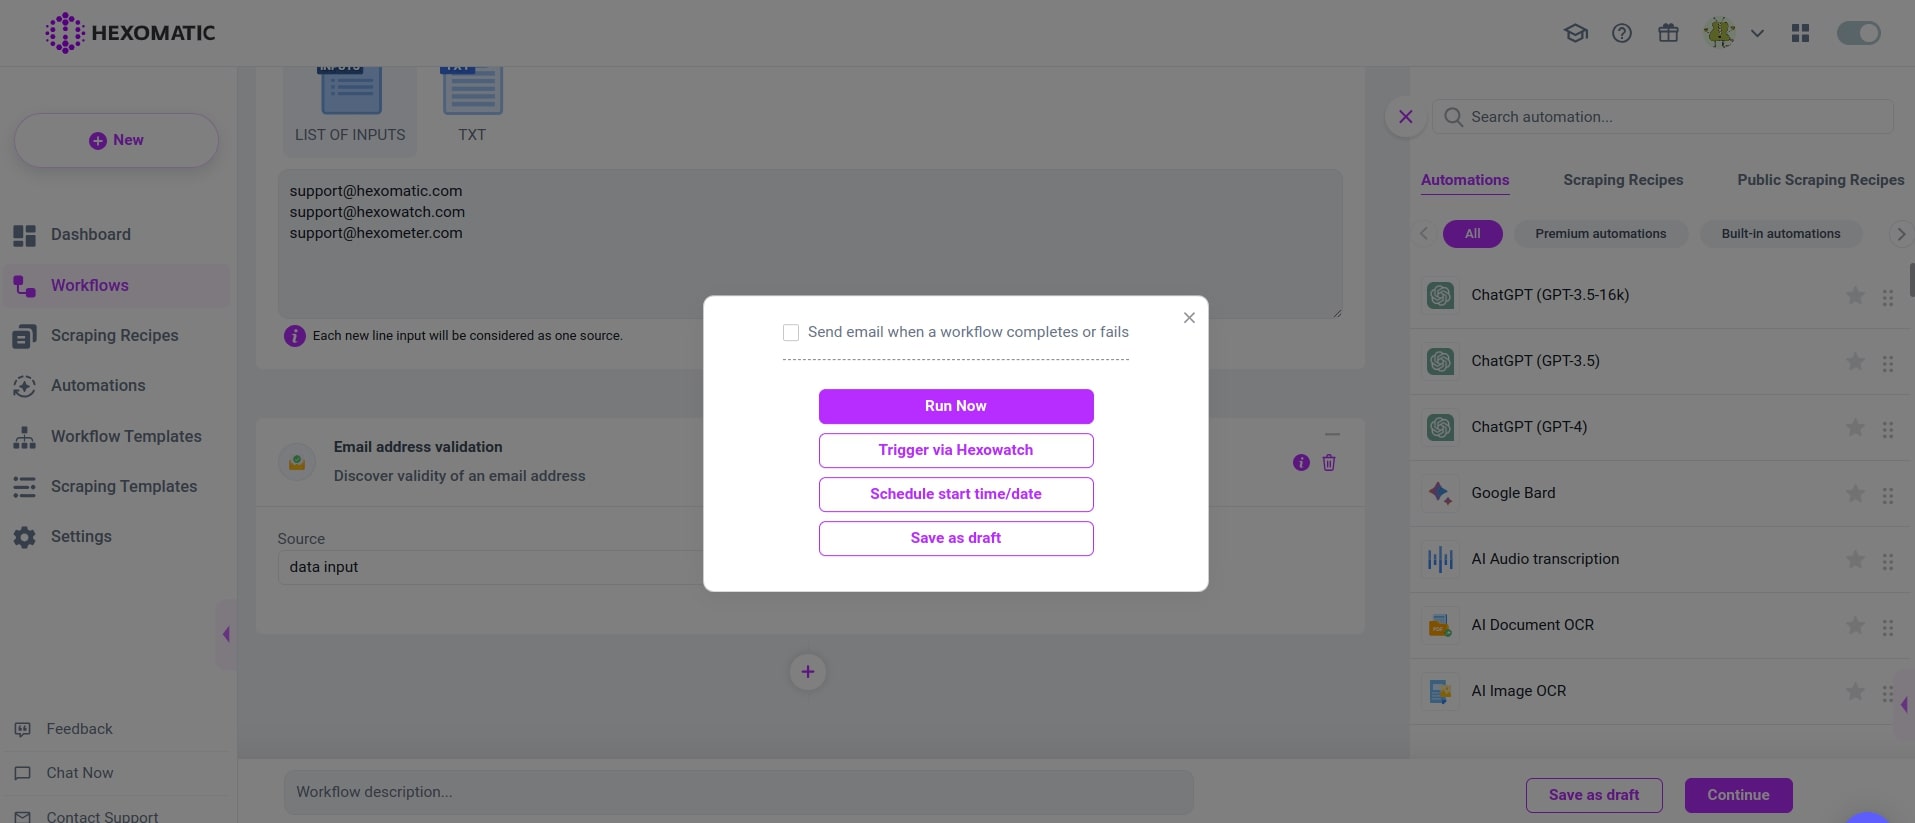
Step 4: Run or schedule the workflow
Next, run the workflow.
Step 5: View and Save the results
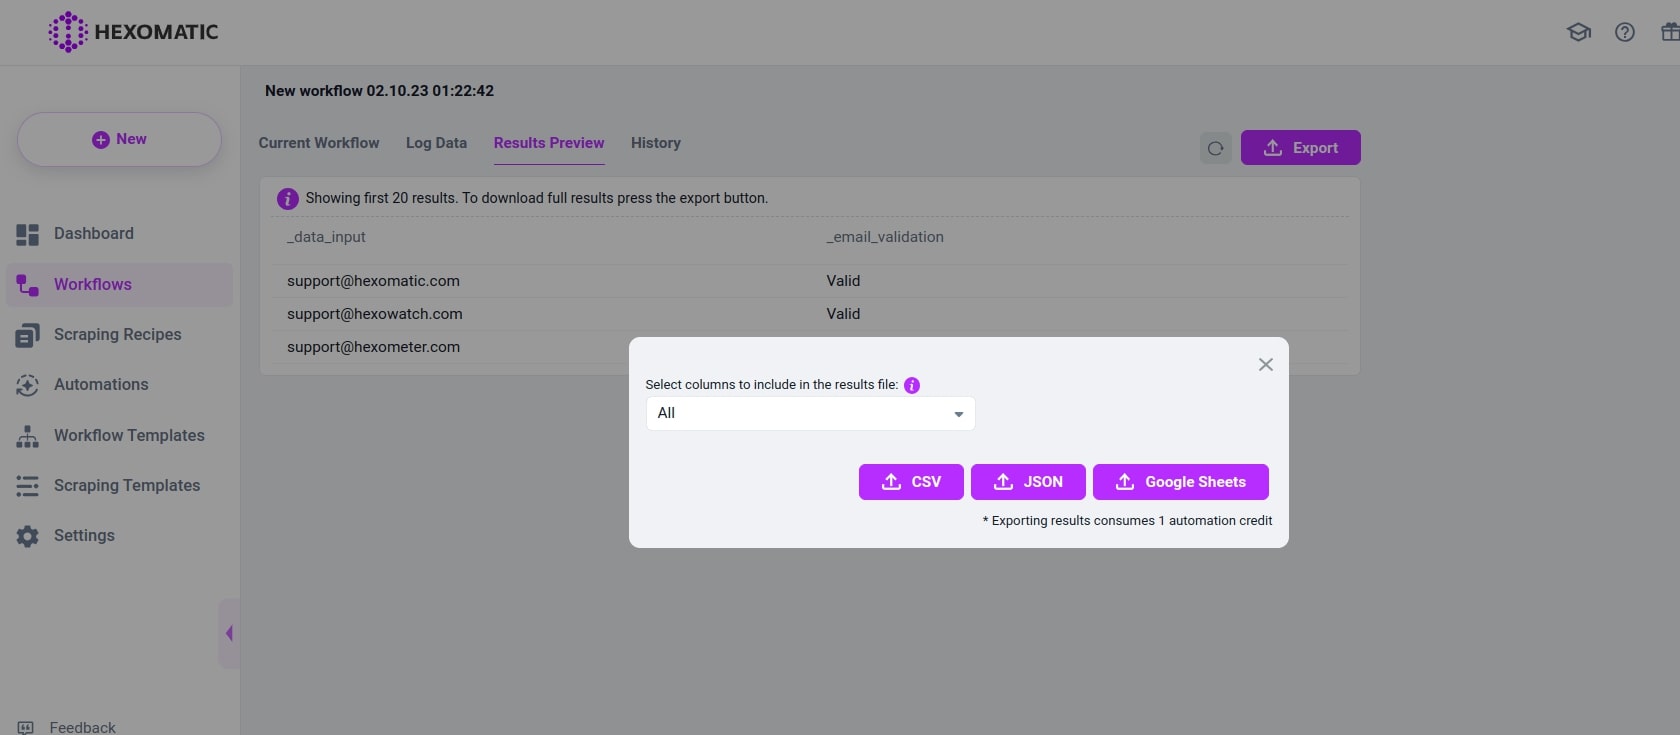
Once your workflow has finished running, you can then review your data in the Results Preview and export it in CSV or Google Sheets.
We recommend sending only to verified emails for best results.
Automate & scale time-consuming tasks like never before

Marketing Specialist | Content Writer
Experienced in SaaS content writing, helps customers to automate time-consuming tasks and solve complex scraping cases with step-by-step tutorials and in depth-articles.
Follow me on Linkedin for more SaaS content
