SimplyHired is a leading employment website that helps millions of companies find qualified applicants for their job openings and millions of job seekers find jobs with competitive salaries.
The platform generates over 3 million visitors per month.
Scraping data from SimplyHired can open up tons of opportunities for businesses to perform better candidate research and find more qualified applicants.
On the other hand, applicants have more opportunities to research companies before applying for a job.
In this tutorial, we will show you:
#1 How to scrape SimplyHired job listings.
#2 How to scrape a single SimplyHired job opening.
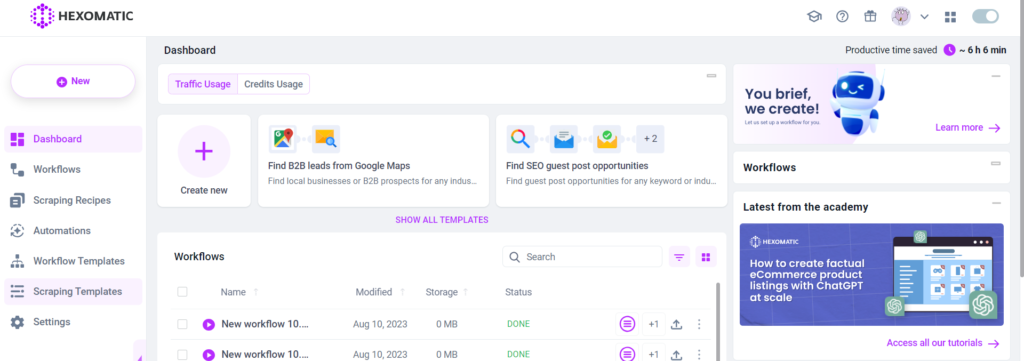
Step 1: Go to the Library of Scraping Templates
From your dashboard, select Scraping Templates to access the public scraping recipes.
Step 2: Capture the URL of the targeted pages
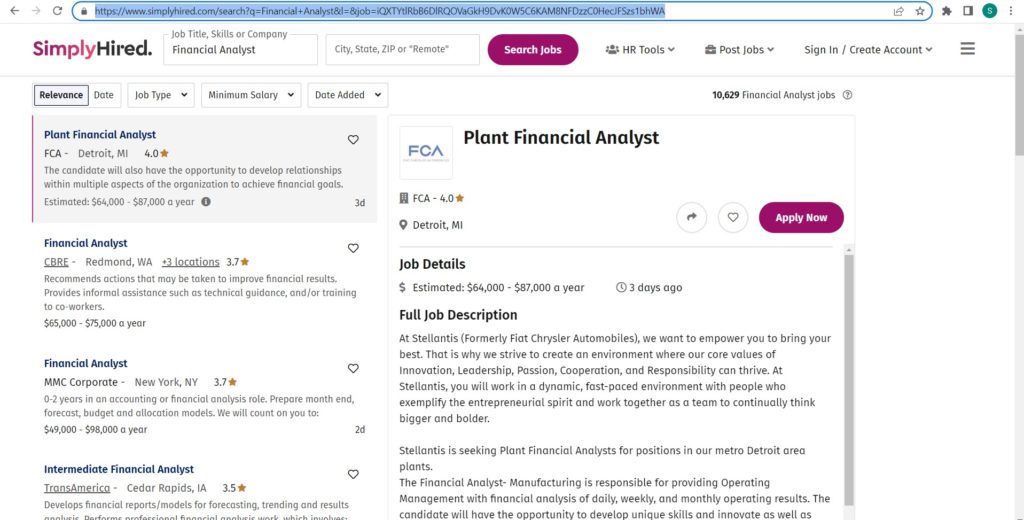
Go to https://www.simplyhired.com/ and capture the URLs of the listings you want to scrape.
For example,
Step 3: Select the “SimplyHired job listings” recipe
From the Scraping Templates, select the “SimplyHired job listings” recipe and click the “Use in a workflow” option.

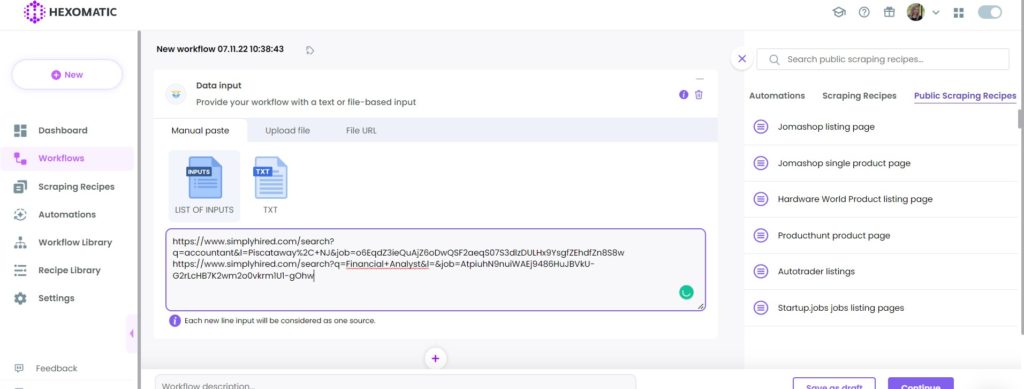
Step 4: Add the captured listings URL(s) via data input
Once the workflow is created, choose the Data Input automation. Then, add the listings URL(s) captured from SimplyHired.com via data input. You have the option of adding a single URL or a list of URLs.
Step 5: Run the workflow
You can now run the workflow to get the results.
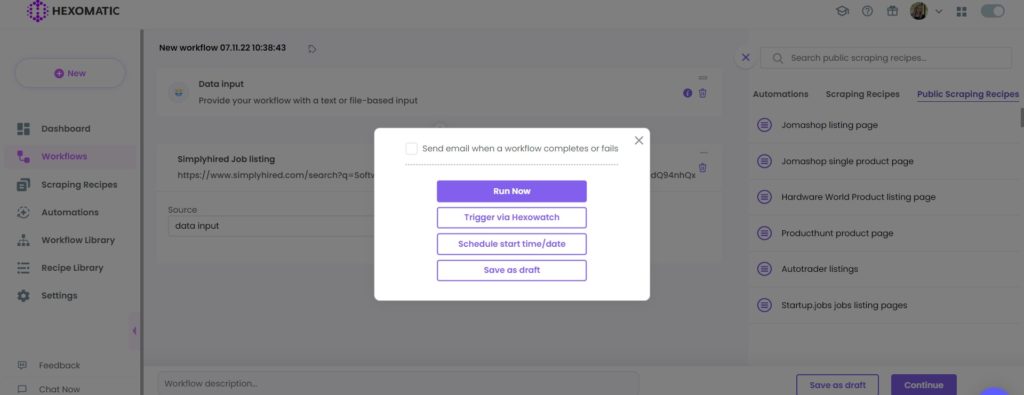
Step 6: View and Save the results
Once the workflow has finished running, you can view the results and export them to CSV or Google Sheets.
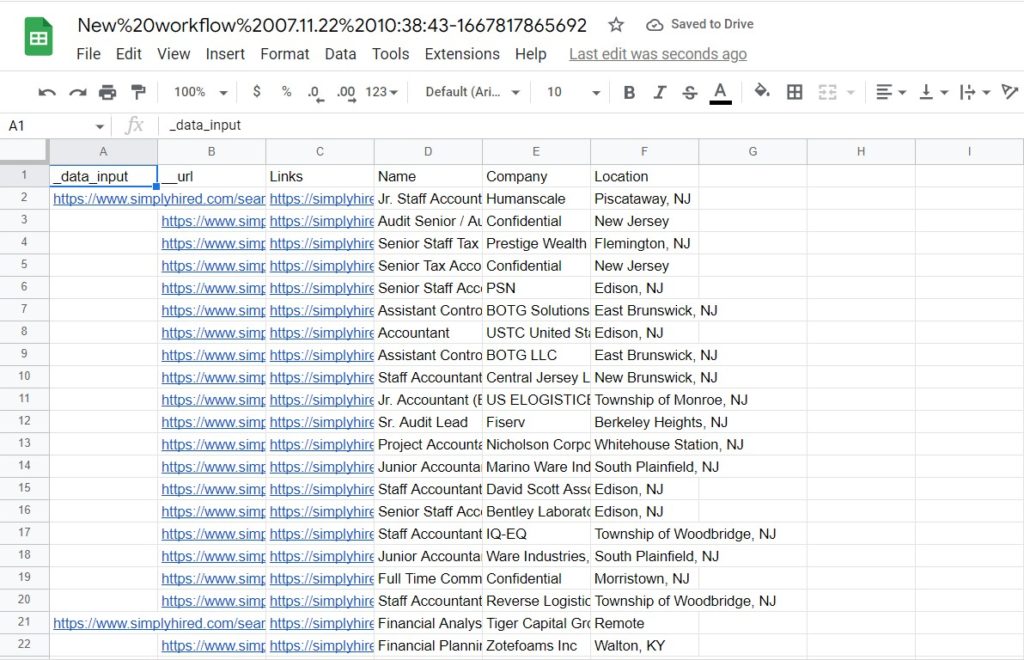
#2 How to scrape a single SimplyHired job opening
Let’s see how you can scrape a single SimplyHired job opening in detail, including the position title, full description, qualifications, benefits, and more.
Step 1: Go to the Library of Scraping Templates
From your dashboard, select Scraping Templates to access the public scraping recipes.

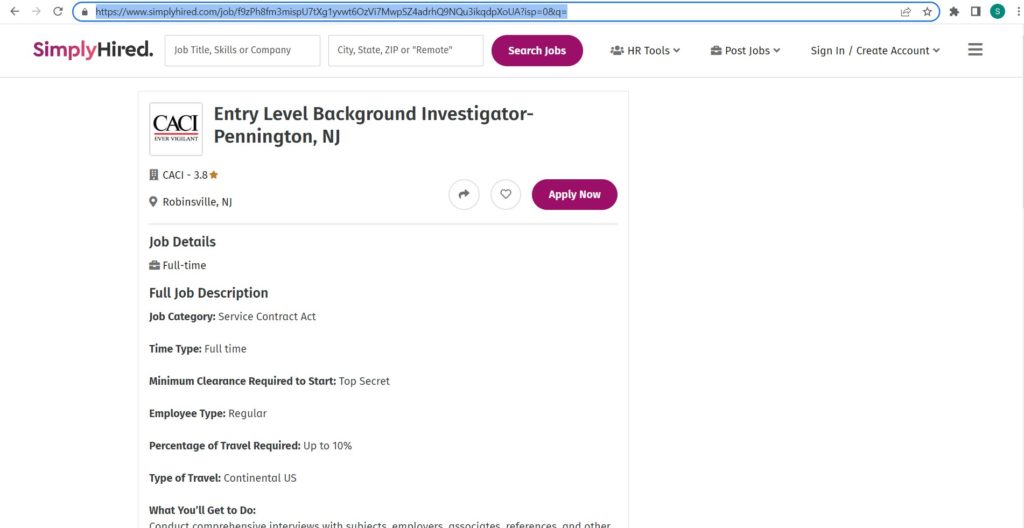
Step 2: Capture the targeted single job posting page URL(s)
Go to https://www.simplyhired.com/ and capture the URLs of the single job openings pages you want to scrape.
For example,
Step 3: Select the “SimplyHired job postings” recipe
Search and select the “SimplyHired job postings” recipe and click the “Use in a workflow” option.

Step 4: Add the captured URL(s) via data input
Once the workflow is created, add the Data Input automation. Add the page URL(s) you have captured previously via data input. You have the option of adding a single URL and a list of URLs.
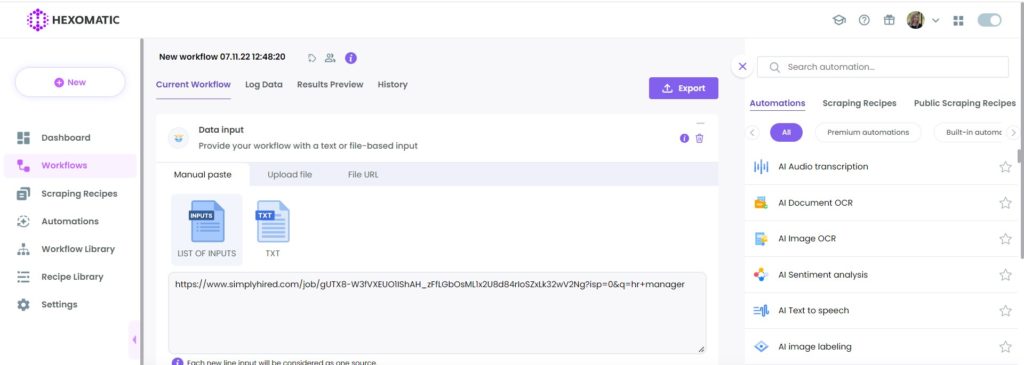
Then, click Continue.
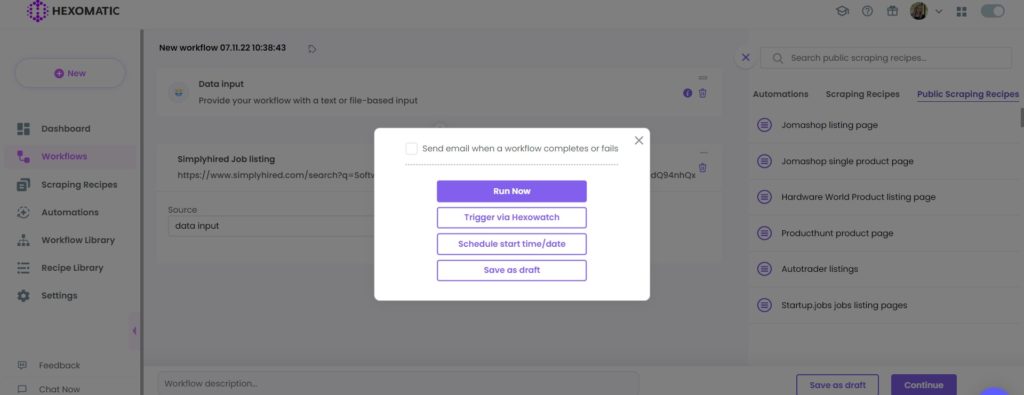
Step 5: Run the workflow
You can now run the workflow to get the results.
Step 6: View and Save the results
Once the workflow has finished running, you can view the results and export them to CSV or Google Sheets.

Automate & scale time-consuming tasks like never before

Marketing Specialist | Content Writer
Experienced in SaaS content writing, helps customers to automate time-consuming tasks and solve complex scraping cases with step-by-step tutorials and in depth-articles.
Follow me on Linkedin for more SaaS content
